
Nachos are one of the easiest and most fun snacks you can make at home. Still, many people end up with soggy chips, cold cheese, or toppings that slide right off.
With a few smart tricks, you can turn a simple plate of chips into a crunchy, cheesy masterpiece. Grab a baking sheet and get ready to make nachos your friends will talk about for weeks.
1. Pick Thick, Sturdy Chips
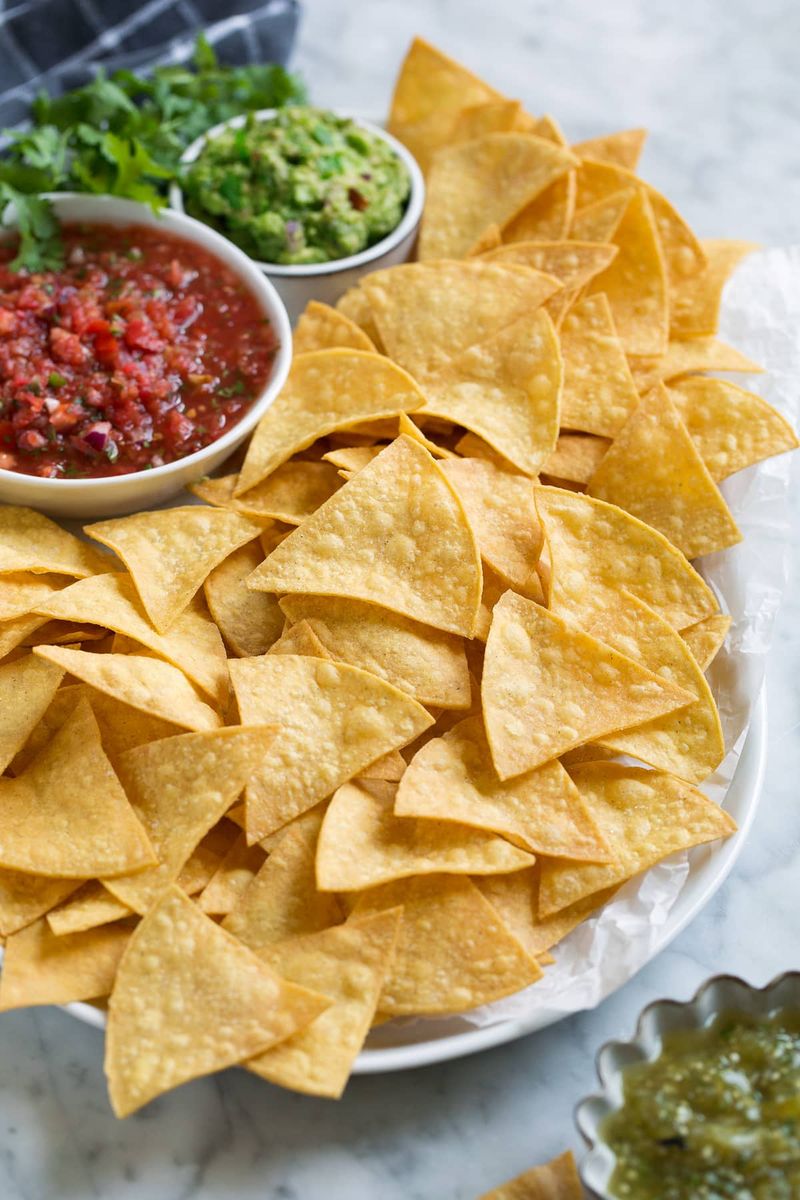
Picture lifting a loaded chip only to watch it snap in half. Thin chips simply cannot carry heavy toppings like beans, meat, and cheese.
Look for thick, restaurant-style tortilla chips at the store. They hold their shape even under melted cheese and salsa.
Fun fact: nachos were invented in 1943 by Ignacio Anaya, a restaurant worker in Mexico whose nickname was Nacho. He used sturdy fried tortilla pieces too.
2. Fry Your Own Tortilla Chips
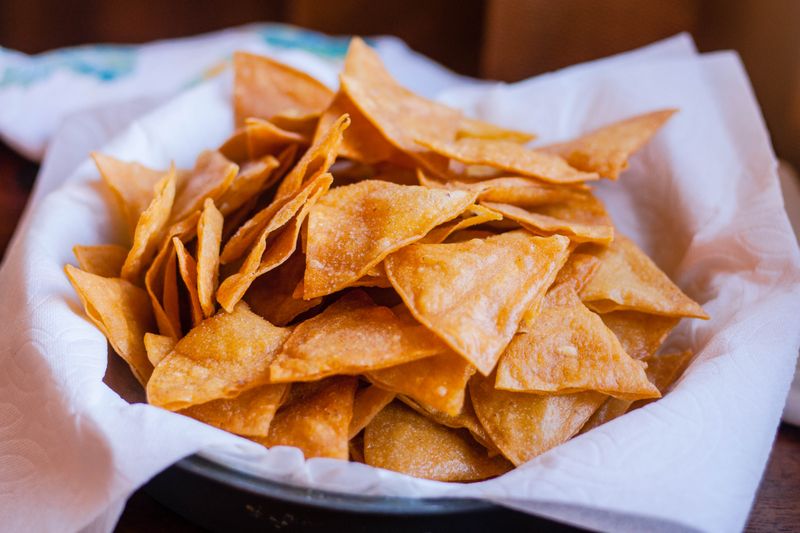
Homemade chips taste so much better than bagged ones, and they are surprisingly simple. Just cut corn tortillas into triangles and fry them in hot oil for about a minute.
Drain them on paper towels and sprinkle with salt right away so it sticks.
Want a lighter option? Brush the triangles with oil and bake them at 375 degrees until crisp and golden around the edges.
3. Spread Chips in a Single Layer
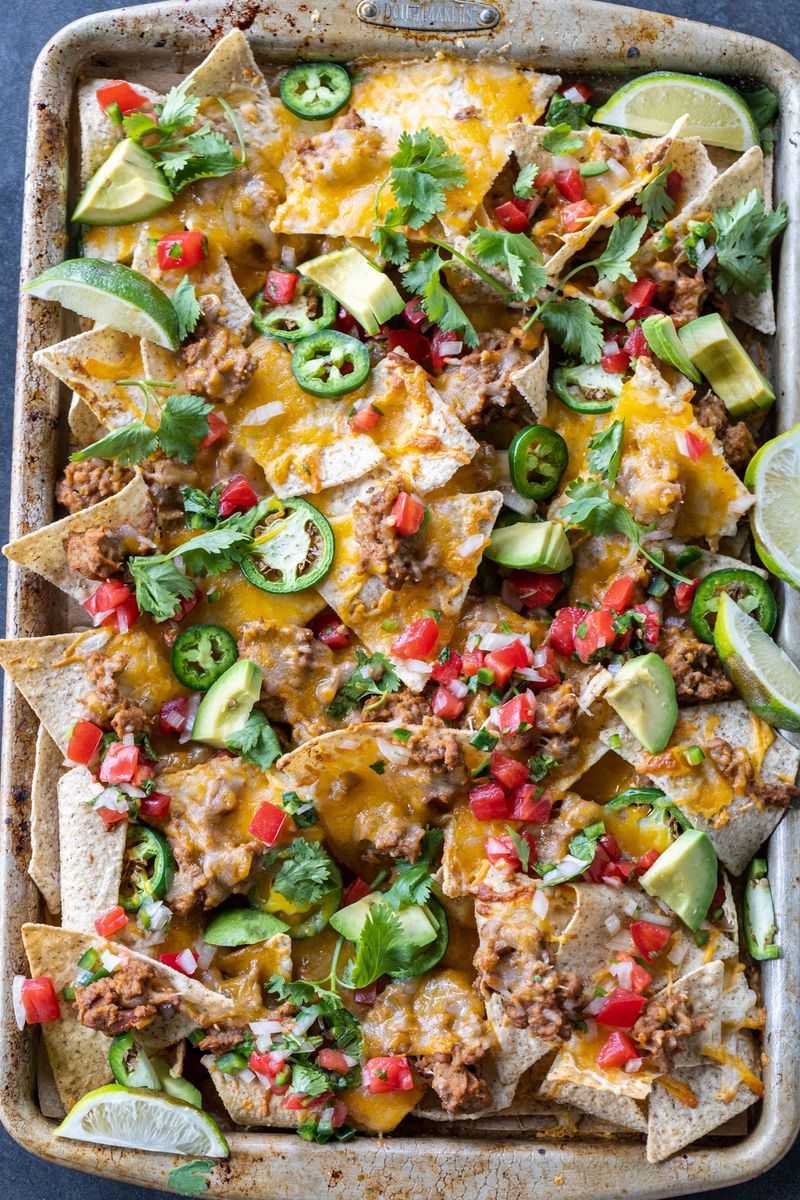
Here is a common mistake: piling chips into a tall mountain. The top gets all the cheese while the bottom stays bare and boring.
Instead, spread your chips across a large sheet pan in one slightly overlapping layer. Every single chip gets a fair share of toppings this way.
Lining the pan with parchment paper also makes cleanup a breeze when you are done eating.
4. Build in Layers
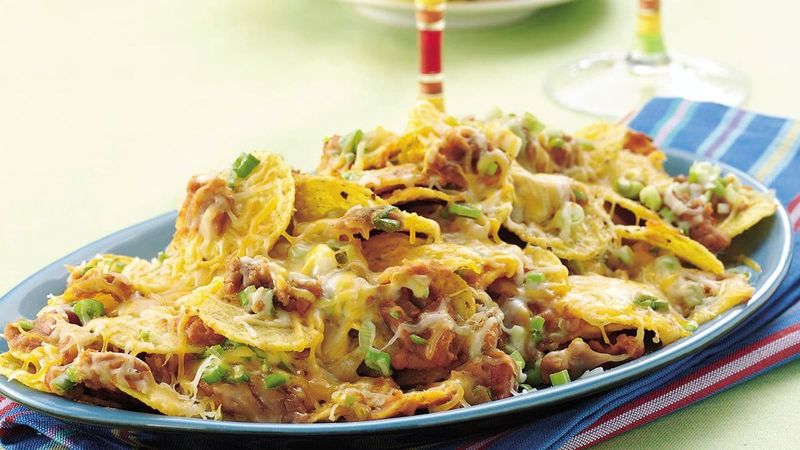
Think of nachos like a lasagna. One layer is nice, but two layers are amazing.
Start with chips, then add cheese and some toppings. Next, repeat with another round of chips, cheese, and toppings on top.
Doing this means no one digs down and finds a sad, naked chip at the bottom. Every bite from top to bottom stays loaded with flavor, which keeps everyone at the table happy.
5. Shred Your Own Cheese
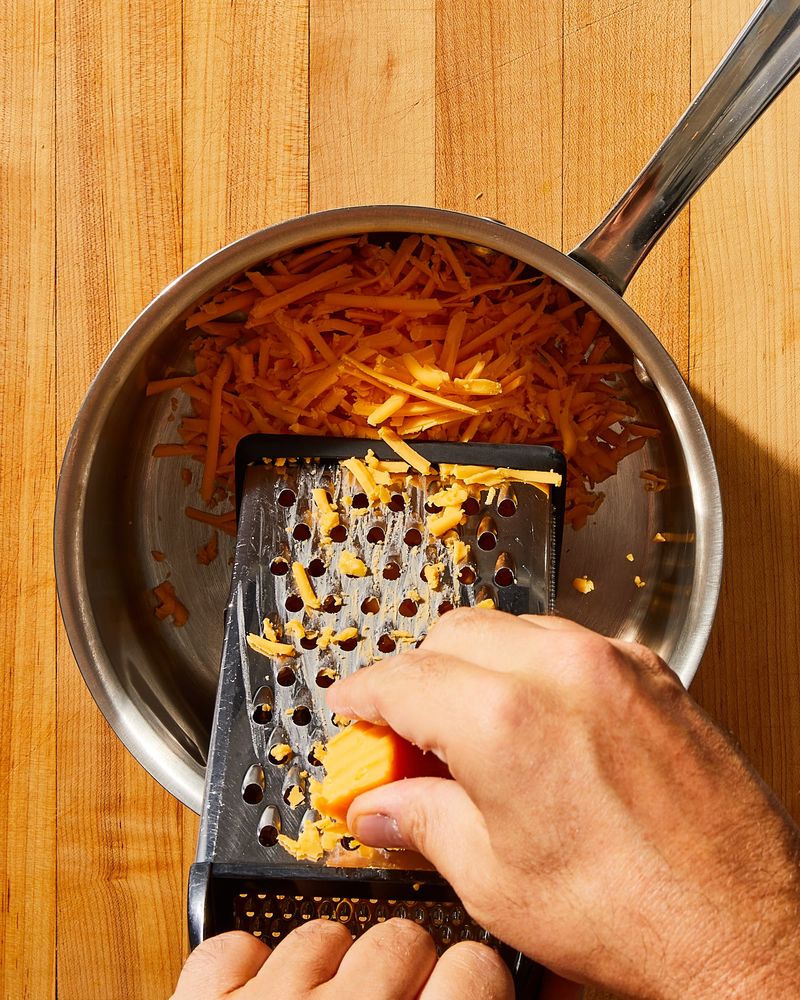
Ever wonder why bagged cheese melts a little weird? Pre-shredded cheese is coated with powders that stop it from clumping, but those powders also keep it from melting smoothly.
Grab a block of cheddar or Monterey Jack and a box grater instead. It only takes a couple of minutes.
Your reward is creamy, gooey cheese that stretches beautifully with every chip you pull from the pan.
6. Mix Two or More Cheeses
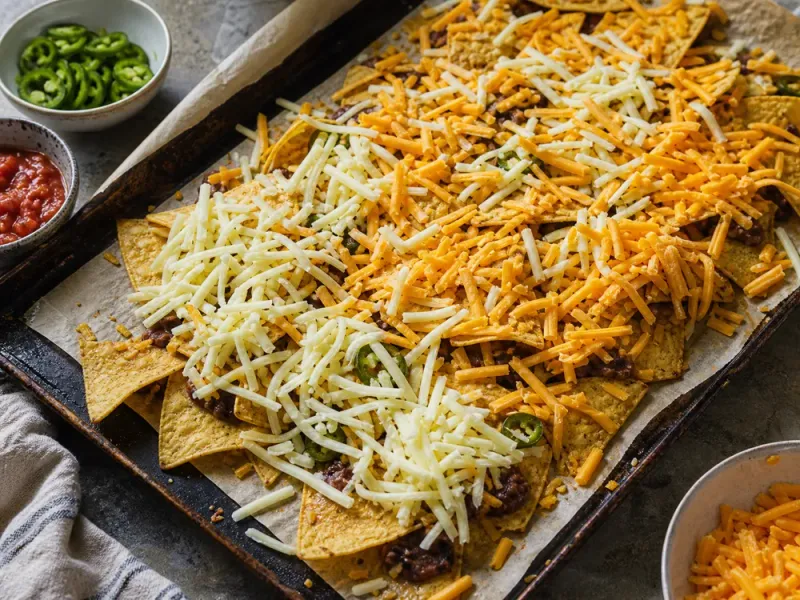
Cheddar brings bold, sharp flavor. Monterey Jack melts like a dream.
Pepper jack adds a spicy little kick.
So why pick just one? Mixing cheeses gives you the best of everything in each bite.
A simple blend of half cheddar and half Jack works great for beginners. Feeling adventurous?
Toss in some crumbly cotija after baking for a salty, authentic Mexican touch that tastes like a restaurant treat.
7. Make a Smooth Cheese Sauce
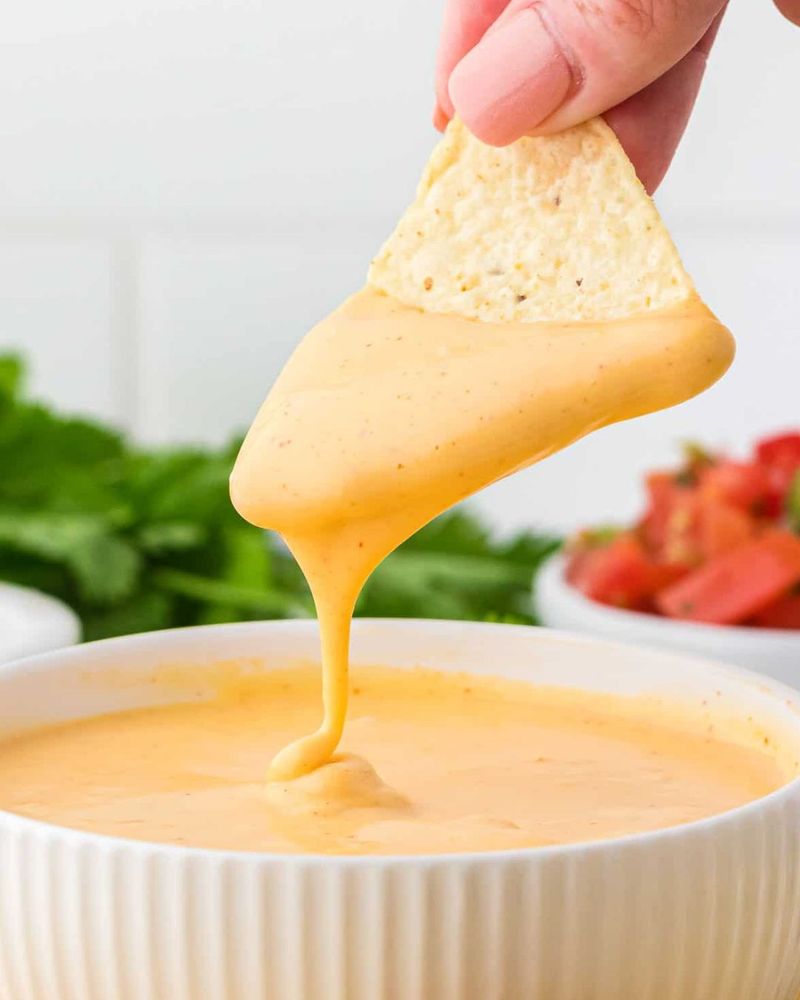
Stadium nachos have that silky cheese sauce everyone loves, and you can make it at home in about ten minutes.
Melt butter in a pot, whisk in a spoonful of flour, then slowly pour in milk. Stir until it thickens, then add shredded cheese a handful at a time.
A pinch of chili powder or a splash of pickled jalapeno juice gives it extra zip. Drizzle it warm over your chips.
8. Bake, Don’t Microwave
Sure, the microwave is fast. But it often leaves chips chewy and cheese rubbery.
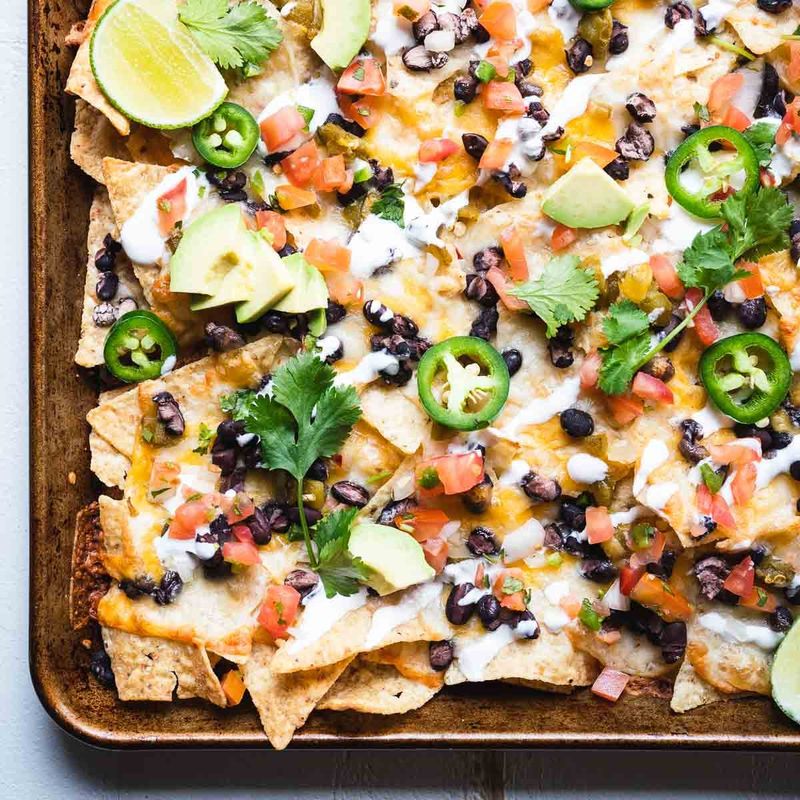
Your oven does a much better job. Bake nachos at 400 degrees for about eight to ten minutes, until the cheese bubbles and the chip edges turn slightly golden.
Keep an eye on them near the end, since cheese can go from perfect to burnt quickly. Ask an adult for help handling the hot pan.
9. Season Your Meat Well
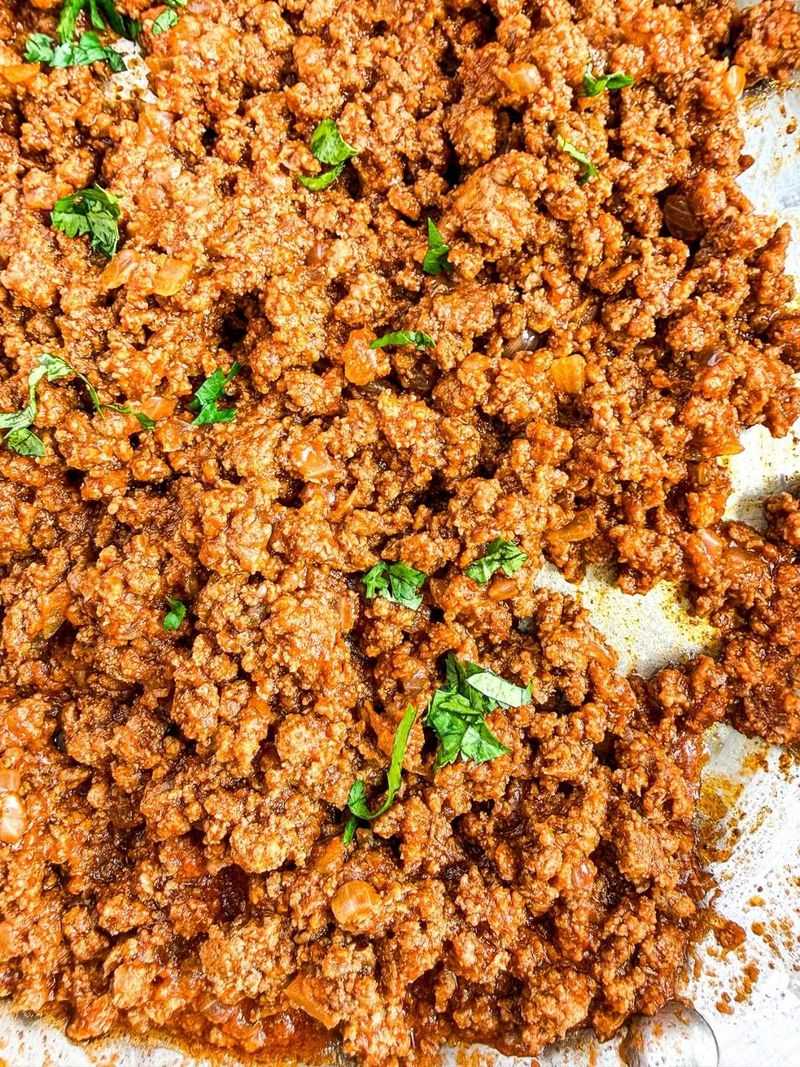
Plain ground beef tastes kind of flat on nachos. A little seasoning changes everything.
Cook your meat with cumin, chili powder, garlic powder, onion powder, and a pinch of salt. A spoonful of tomato paste adds rich color and depth.
Be sure to drain the extra grease before adding the meat to your chips. Greasy meat is a fast ticket to soggy nachos, and nobody wants that disappointing crunch-free bite.
10. Add Beans the Smart Way
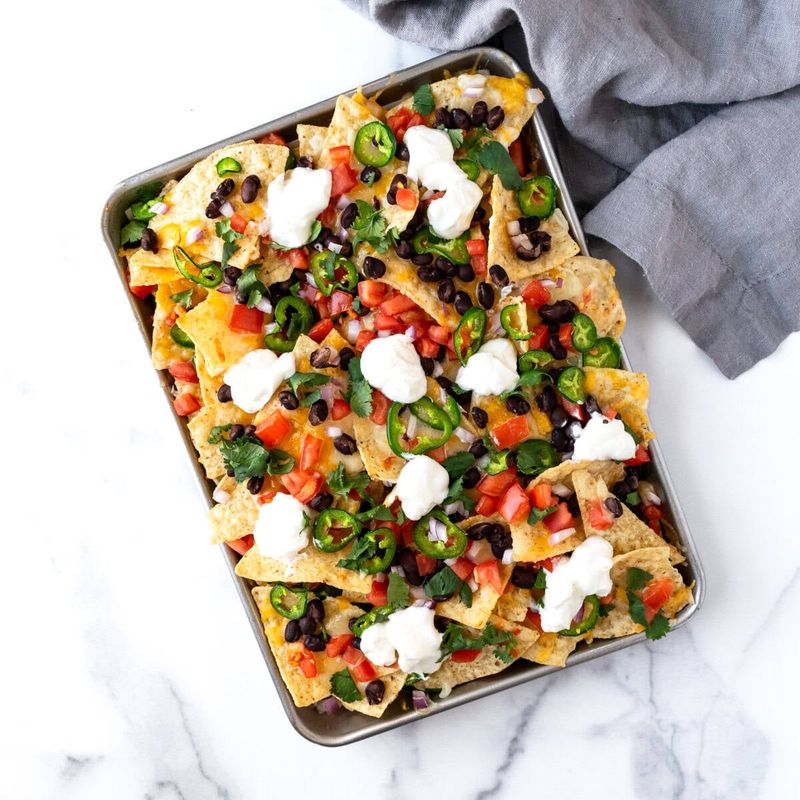
Beans add protein, flavor, and a hearty feel to any plate of nachos. However, wet beans can quickly make chips limp.
Rinse and drain canned black or pinto beans well before using them. Pat them dry with a paper towel if needed.
Refried beans work too. Warm them first so they spread easily, then dollop small spoonfuls around the pan instead of smearing a thick layer across everything.
11. Save Cold Toppings for Last
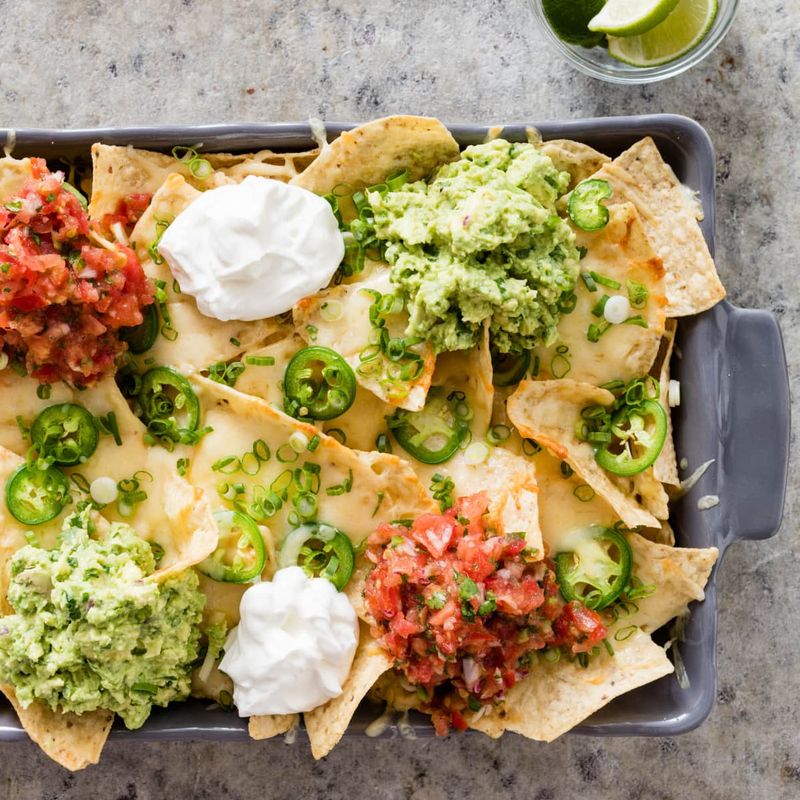
Hot sour cream? Warm lettuce?
Yikes. Some toppings were never meant to go in the oven.
Add fresh, cold items only after baking. Sour cream, guacamole, salsa, chopped lettuce, and diced tomatoes all taste best when they stay cool and crisp.
The contrast between hot, melty cheese and cool, fresh toppings is part of what makes nachos so exciting to eat. Every bite becomes a little temperature surprise.
12. Serve Wet Toppings on the Side
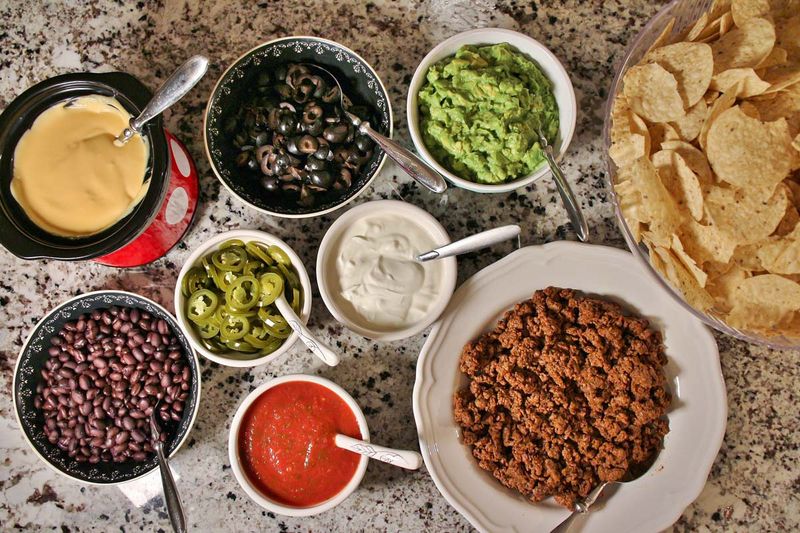
Got a big group coming over? Here is a trick party hosts swear by.
Put salsa, sour cream, and guacamole in small bowls around the nacho tray instead of piling them on top. Everyone can dip as much or as little as they like.
Your chips also stay crunchy much longer, which matters when people are snacking for an hour or more during a movie or game night.
13. Make Quick Pickled Onions
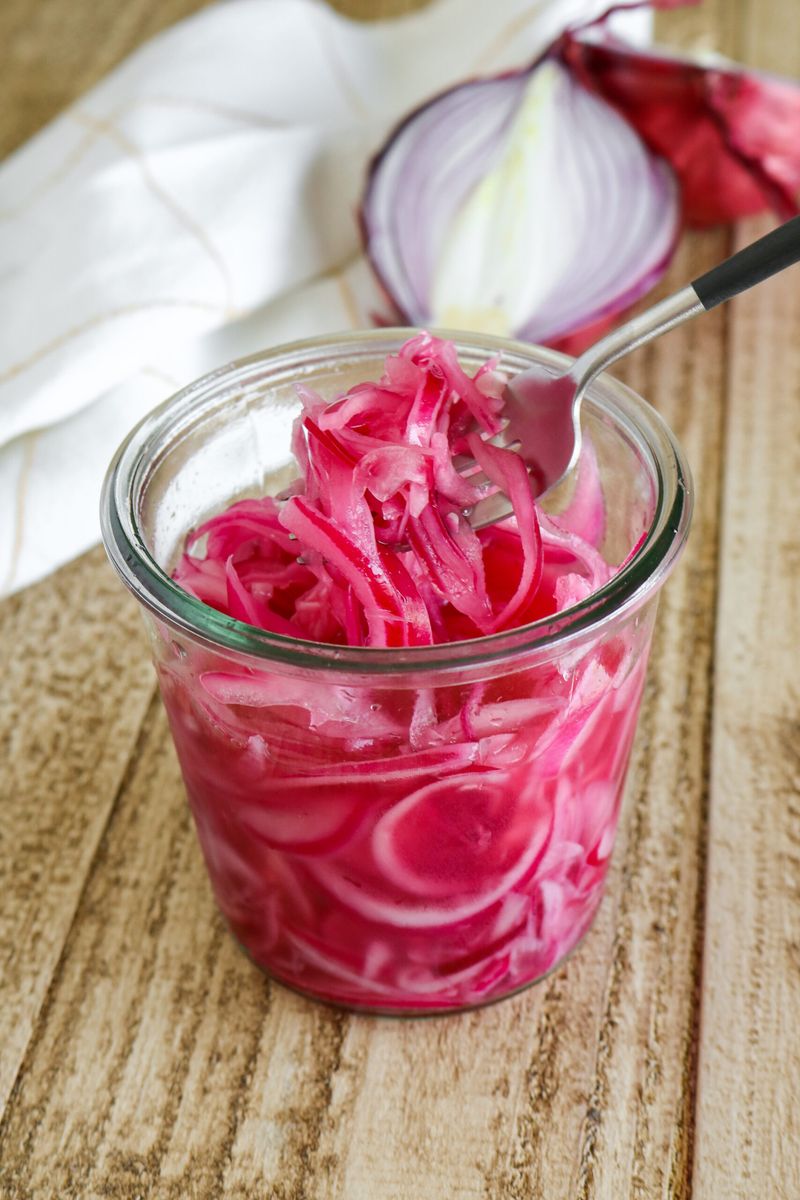
Bright pink and tangy, pickled red onions make nachos look like they came from a fancy restaurant.
Slice a red onion thin and pack it into a jar. Pour in warm vinegar mixed with a little sugar and salt, then wait about thirty minutes.
That sharp, zingy flavor cuts through rich cheese and meat perfectly. Leftovers last in the fridge for about two weeks, ready for tacos too.
14. Finish With Fresh Lime and Herbs
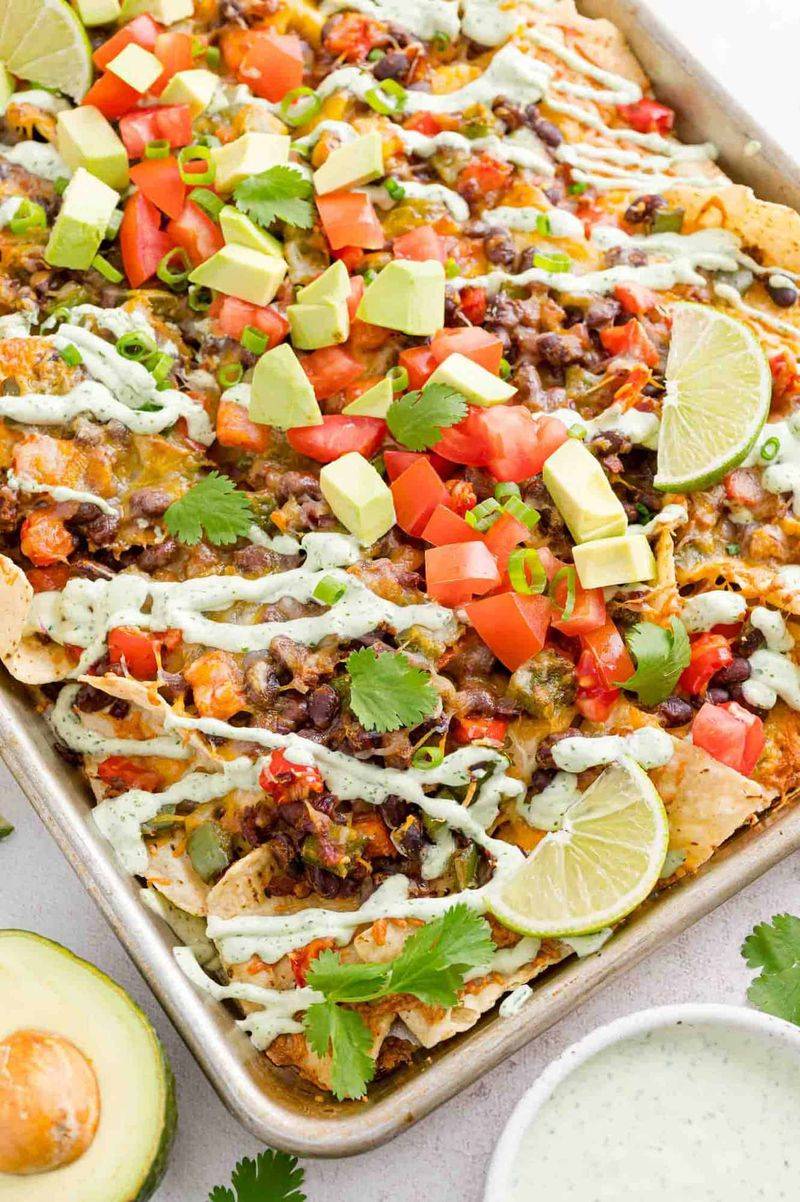
Chefs know a secret: a squeeze of lime at the very end wakes up every flavor on the plate.
After baking, squeeze fresh lime juice over your nachos. Then scatter chopped cilantro or sliced green onions on top.
Not a fan of cilantro? Some people think it tastes like soap, thanks to their genes.
Try fresh parsley or chives instead for that same pop of green color.
15. Eat Them Right Away
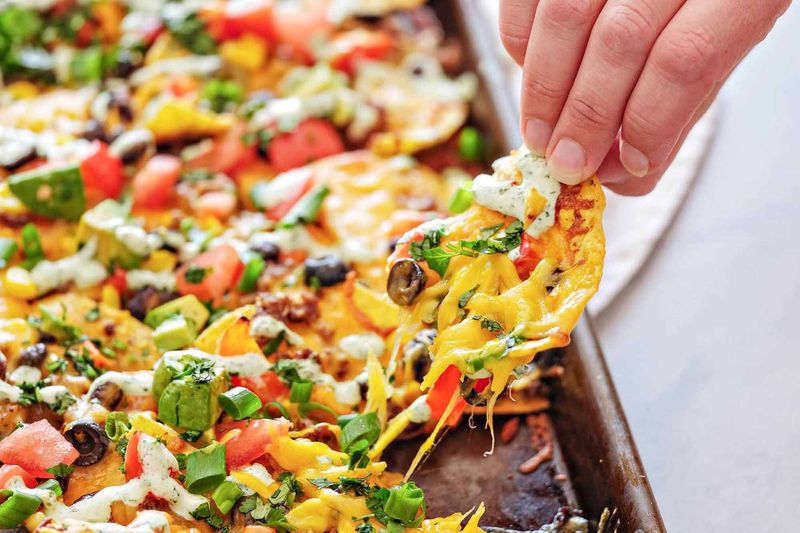
Nachos are a now-or-never kind of food. The longer they sit, the soggier they get.
Plan your timing so everyone is ready to eat the moment the pan leaves the oven. Set out plates and napkins ahead of time.
Making a lot? Bake smaller batches one after another rather than one giant tray.
That way, each round arrives hot, crunchy, and perfectly cheesy for hungry snackers.