
Have you ever pulled a cake from the oven only to find it sunken, dry, or stuck to the pan? Every baker has been there, and the good news is that small changes can make a huge difference.
A few simple tricks can turn a so-so cake into one that is soft, tall, and full of flavor. Grab your apron, because these tips will help you bake with confidence.
1. Bring Ingredients to Room Temperature
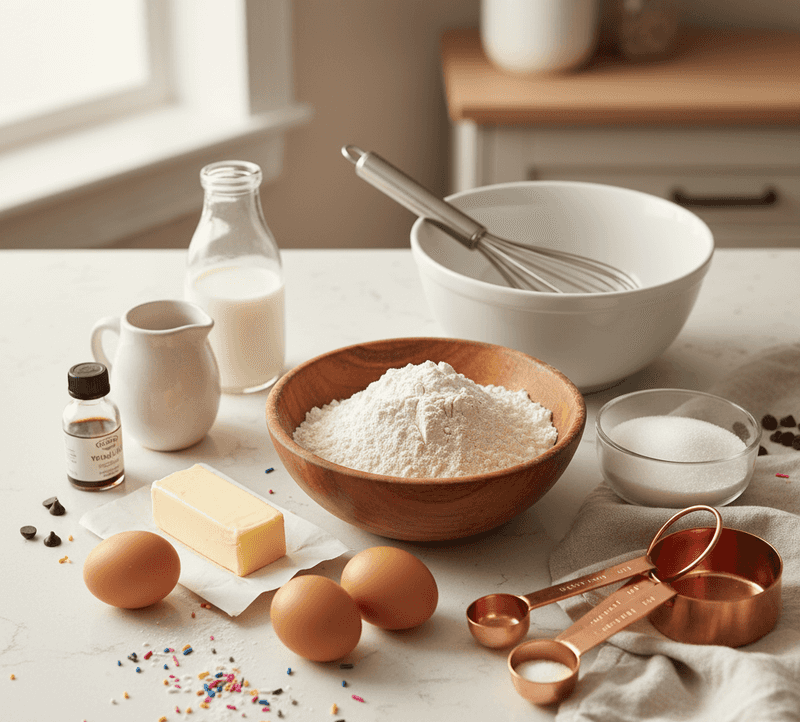
Cold eggs straight from the fridge can quietly ruin your batter. When butter, eggs, and milk are chilly, they refuse to blend smoothly, and the batter can look curdled or lumpy.
Set everything out about an hour before you start. Room temperature ingredients trap more air when mixed, which gives your cake a lighter, fluffier crumb.
In a hurry? Place eggs in a bowl of warm water for ten minutes.
2. Weigh Your Flour Instead of Scooping
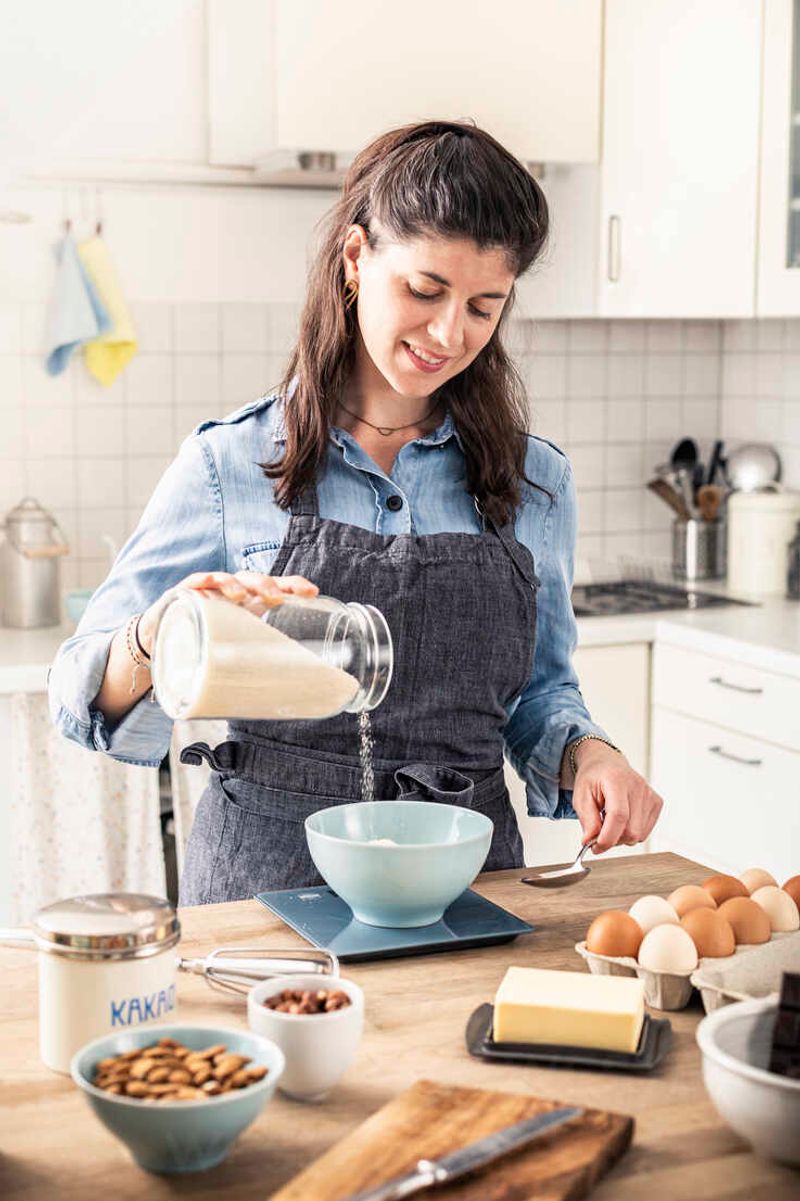
Here is a surprising fact: one scooped cup of flour can weigh up to 30 percent more than a spooned cup. That extra flour makes cakes dense and dry.
A simple kitchen scale fixes the problem right away. Professional bakers almost always measure by weight because it gives the same result every single time.
No scale yet? Spoon flour gently into your cup, then level the top with a butter knife.
3. Line Pans With Parchment Circles
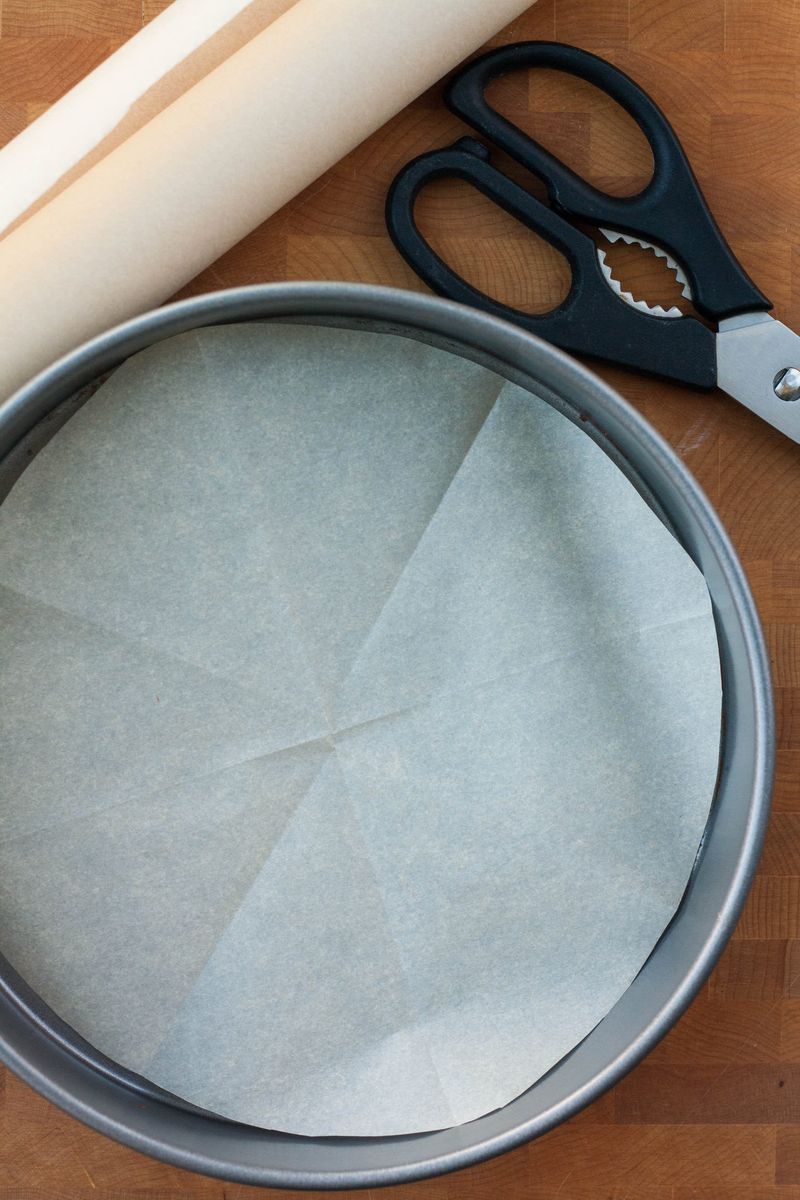
Nothing breaks a baker’s heart faster than a cake that tears in half while leaving the pan. Grease alone does not always do the job.
Trace the bottom of your pan on parchment paper, cut out the circle, and press it inside after greasing. Then grease the paper too.
Once baked, your cake will slide out cleanly. Peel off the paper and admire that smooth, perfect bottom.
4. Cream Butter and Sugar Longer
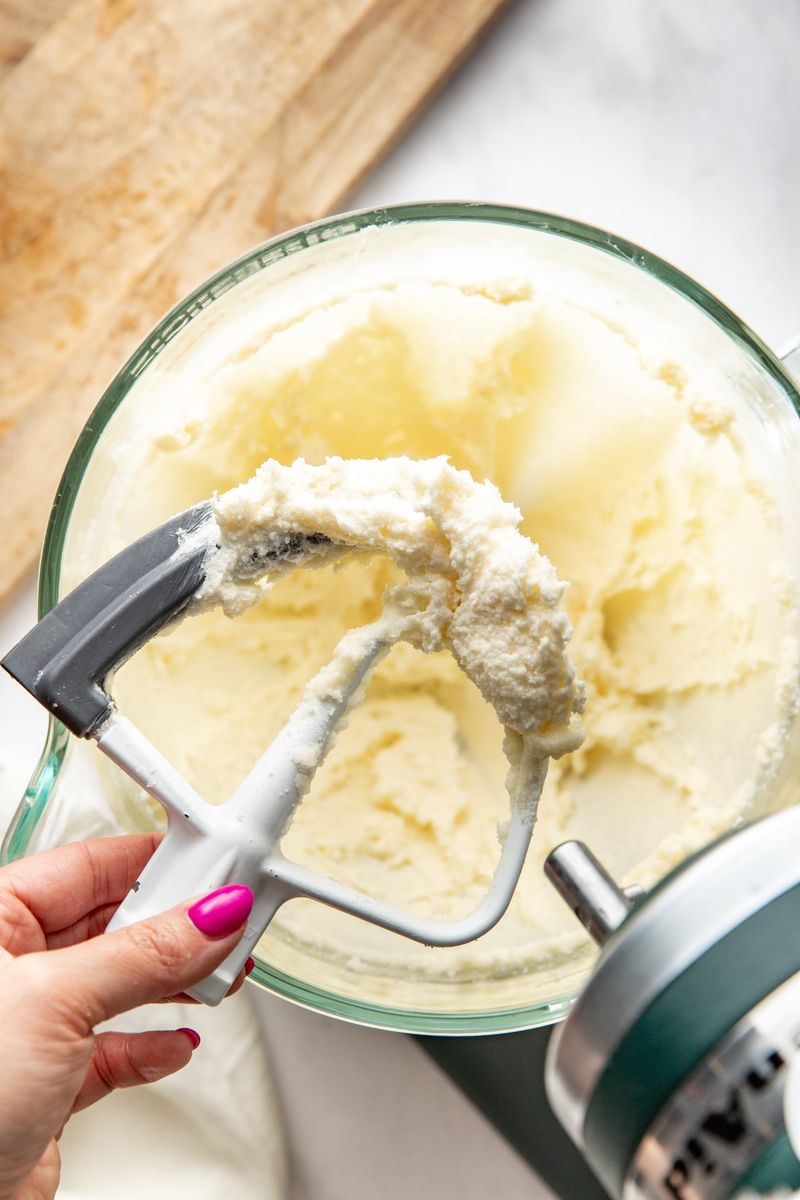
Most recipes say to cream butter and sugar until light and fluffy, but many of us stop way too early. Patience really pays off here.
Beat the mixture for three to five full minutes. The sugar crystals cut tiny pockets into the butter, and those pockets hold air that helps your cake rise.
You will know it is ready when the color turns pale, almost white, and the texture looks like frosting.
5. Stop Overmixing After Adding Flour
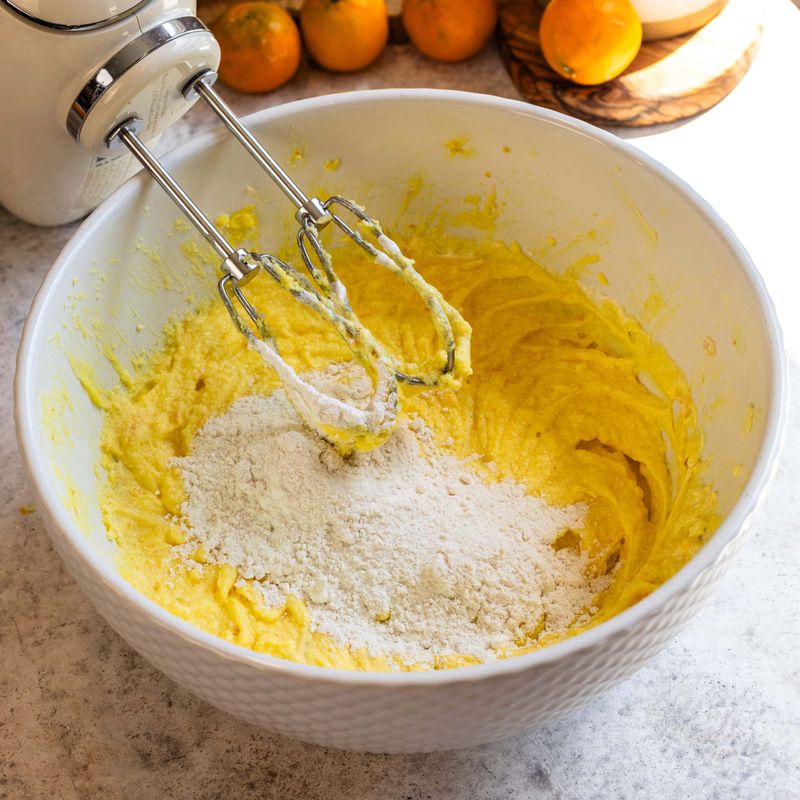
Picture chewy bread dough. Now imagine your birthday cake feeling like that.
Not great, right?
Once flour meets liquid, gluten starts forming, and too much stirring makes it tough and rubbery. Mix only until you no longer see dry streaks of flour.
Switch from the mixer to a spatula for this final step. Gentle folding keeps the batter tender, and your cake will reward you with a soft, melt-in-your-mouth bite.
6. Check Your Oven With a Thermometer
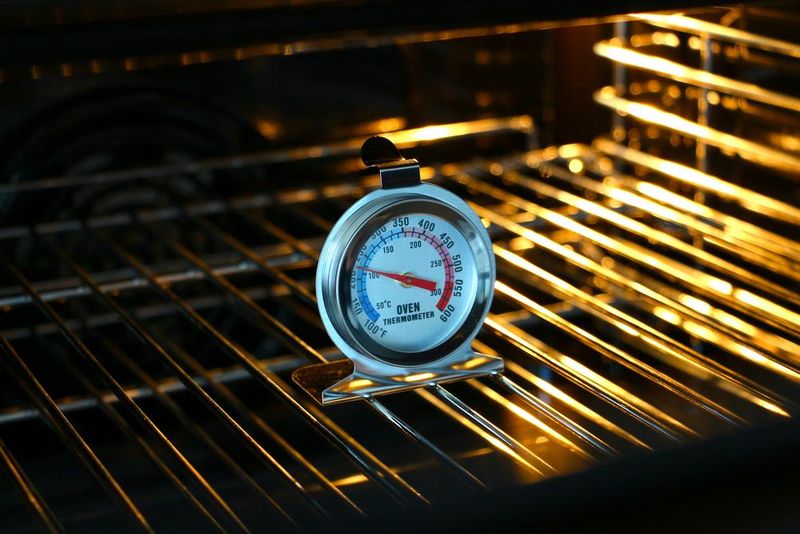
Your oven might be lying to you. Many home ovens run 25 degrees hotter or cooler than the dial says, and that difference changes everything.
A cheap oven thermometer shows the real temperature. Hang it on the middle rack and check it after preheating.
If the number is off, adjust your dial to match. Suddenly, those cakes that burned on the edges or stayed gooey in the center will start coming out just right.
7. Tap Out the Air Bubbles
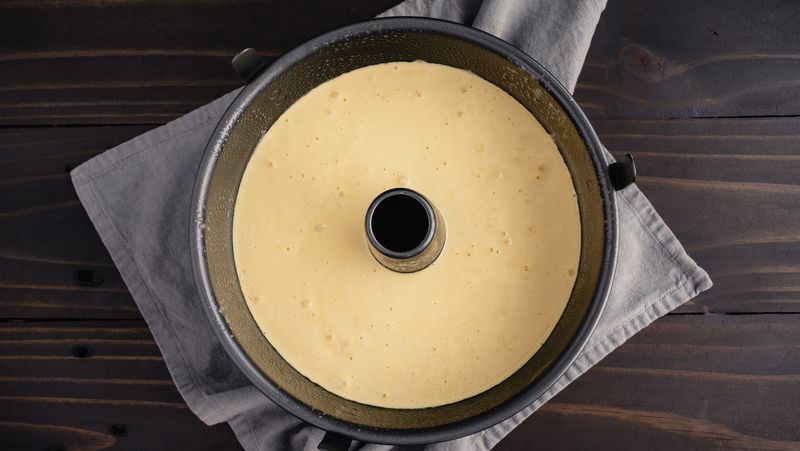
Big holes inside a slice of cake look odd and can make layers uneven. Luckily, the fix takes about five seconds.
After pouring batter into the pan, lift it a few inches and drop it gently onto the counter two or three times. Trapped air bubbles will float up and pop.
You can also swirl a toothpick through the batter. Bakers swear by this quick move for a smooth, even crumb.
8. Use Cake Strips for Flat Tops
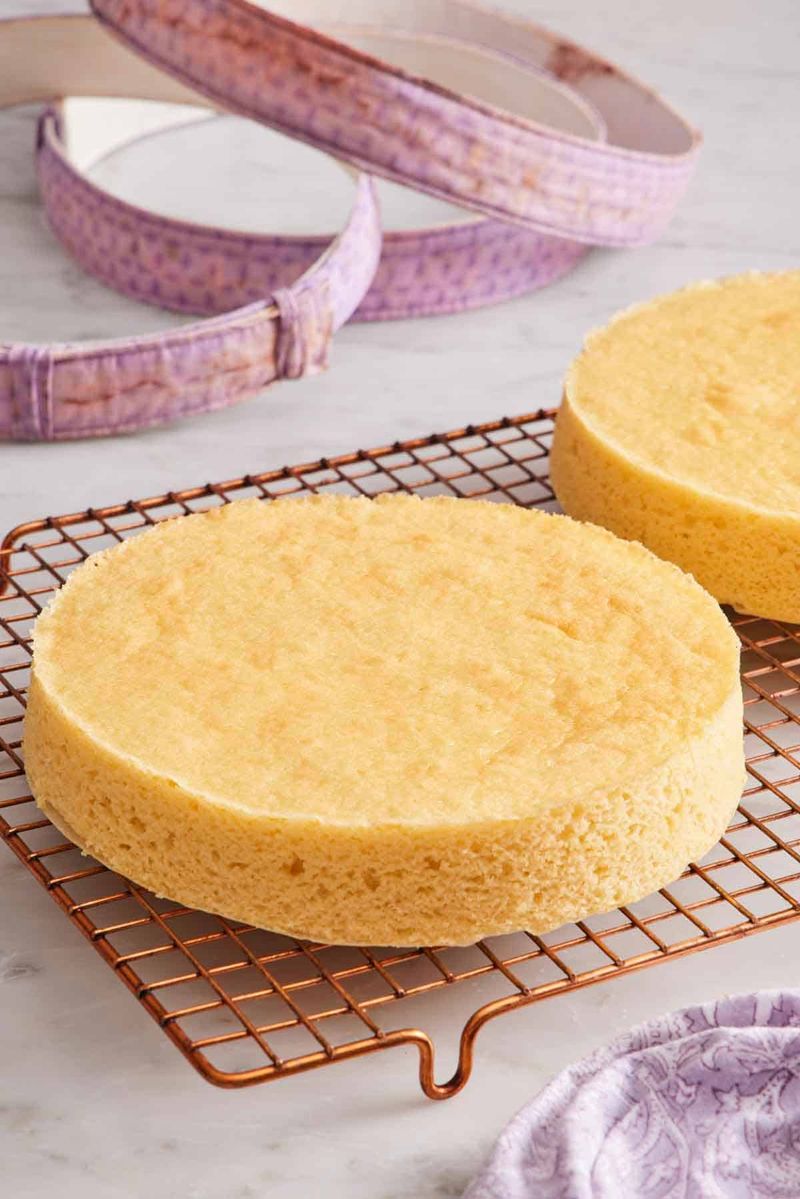
Ever bake a cake that puffs into a tall dome with crispy edges? Edges cook faster than the middle, which causes that hill shape.
Wrap a damp towel strip or store-bought cake strip around the outside of the pan. The moisture keeps the sides cooler, so the whole cake rises evenly.
Flat tops mean no trimming and easy stacking. Grandma might have used old kitchen towels pinned in place, and it still works.
9. Keep the Oven Door Closed
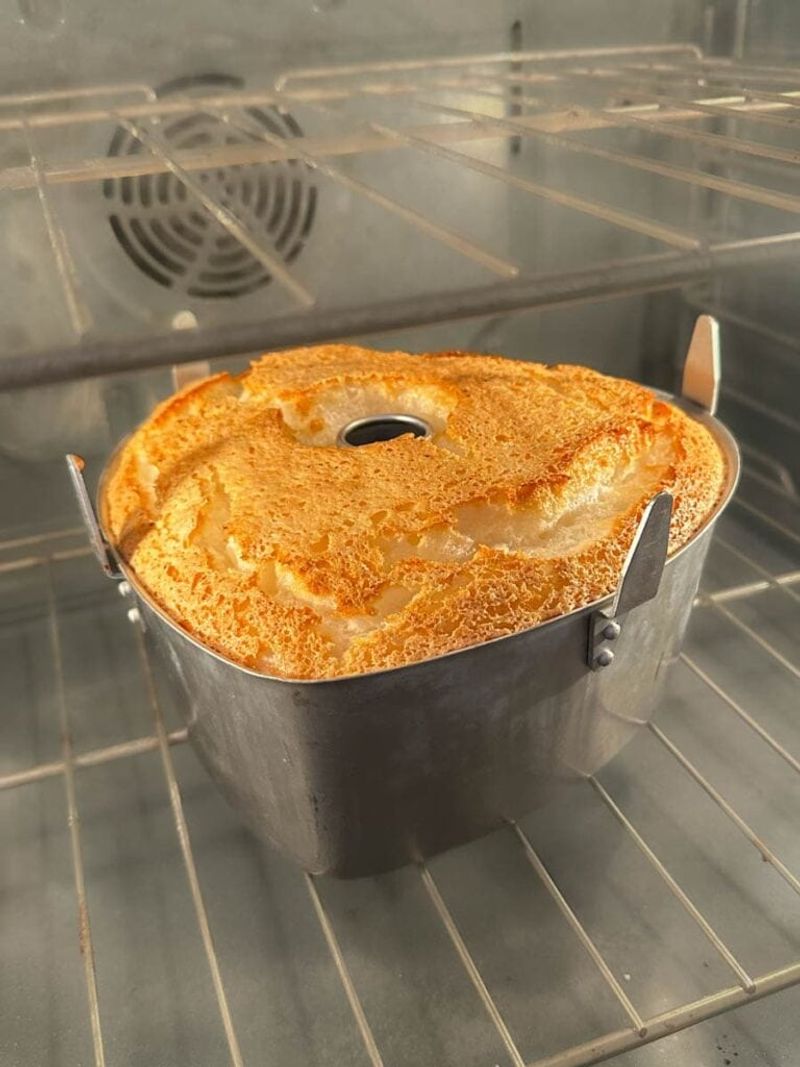
Curiosity is tough to fight, especially when your kitchen smells amazing. Still, opening the oven too soon can make a cake collapse.
Each peek lets out hot air and drops the temperature fast. During the first two thirds of baking, the cake structure is still weak and needs steady heat.
Flip on the oven light and look through the glass instead. Save the door opening for the final doneness test near the end.
10. Test for Doneness the Smart Way
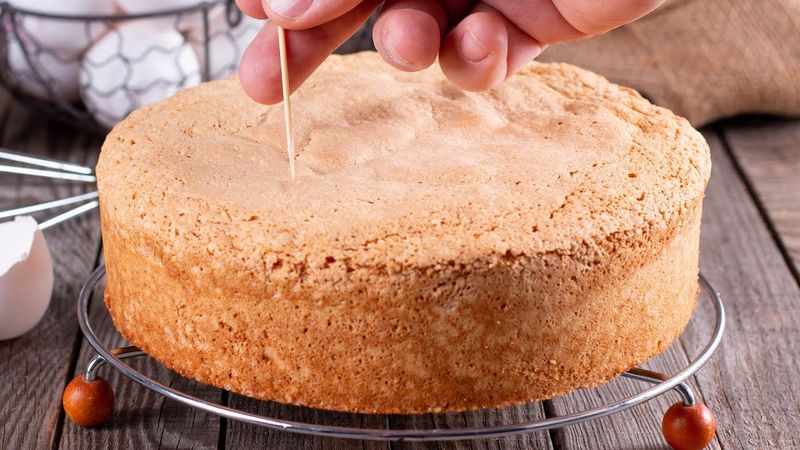
A clean toothpick sounds like the goal, yet it often means your cake is slightly overbaked. Aim for a few moist crumbs clinging to it instead.
Other clues help too. The top should spring back when pressed lightly, and the edges will pull away from the pan a little.
Remember, cakes keep cooking a bit after leaving the oven. Pulling them at the right moment keeps every slice tender.
11. Cool Cakes on a Wire Rack
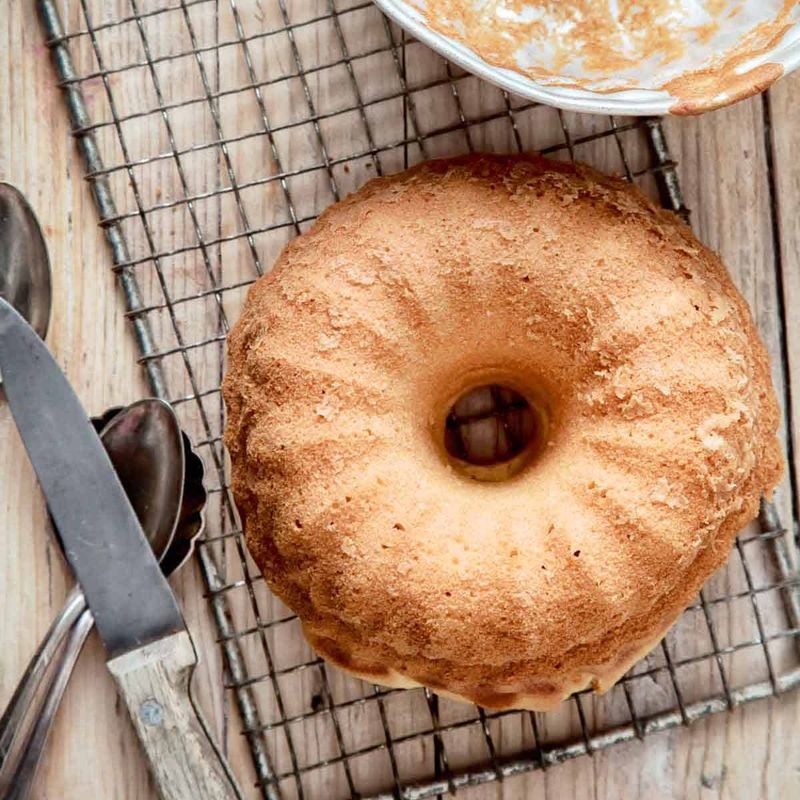
Steam needs somewhere to go. Leave a hot cake sitting flat on a plate, and the bottom turns soggy.
Let your cake rest in the pan for about ten minutes, then flip it onto a wire rack. Air flows all around, so it cools evenly and keeps its shape.
Waiting until it is fully cool before frosting matters too. Warm cake melts frosting into a sliding, sticky mess.
12. Swap in Buttermilk or Sour Cream
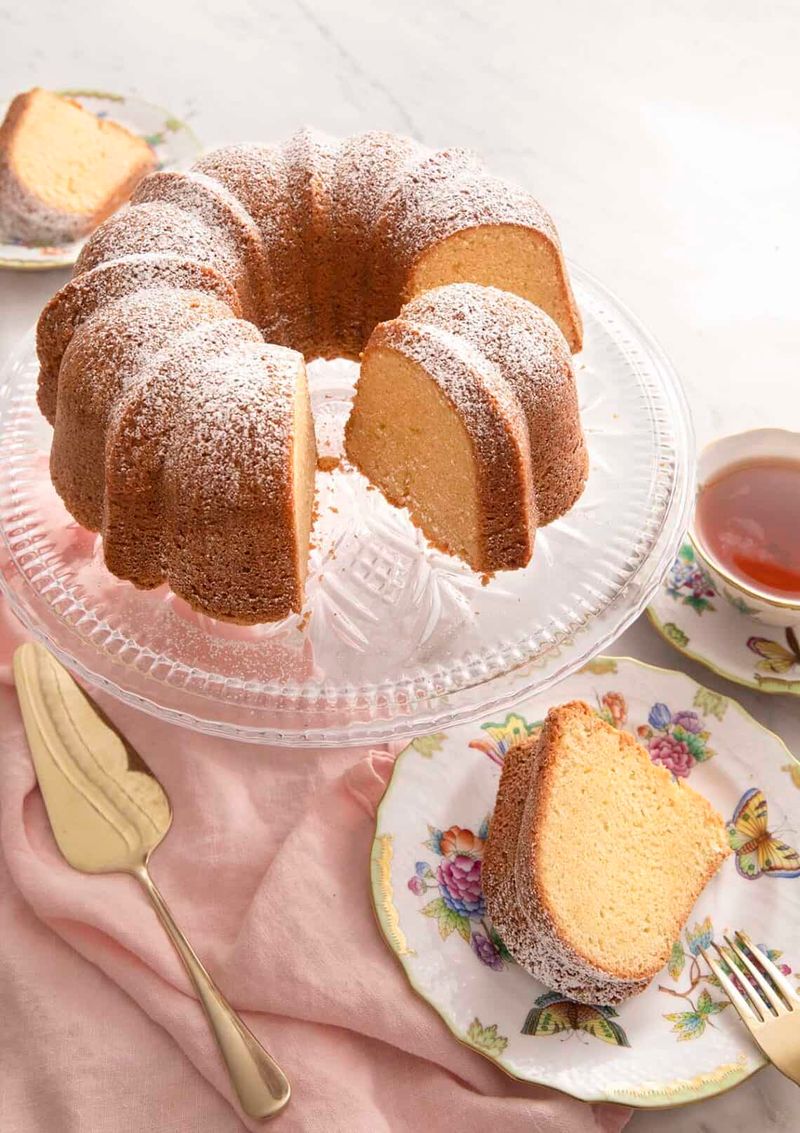
Want a cake so moist people ask for your secret? Tangy dairy is a baker’s hidden helper.
Buttermilk and sour cream add rich moisture and soften gluten, giving cakes a velvety texture. Their acid also boosts baking soda for a better rise.
Fun fact: classic red velvet cake gets its tender crumb from buttermilk. Out of it?
Stir one tablespoon of lemon juice into a cup of milk and wait five minutes.
13. Sift Dry Ingredients Together
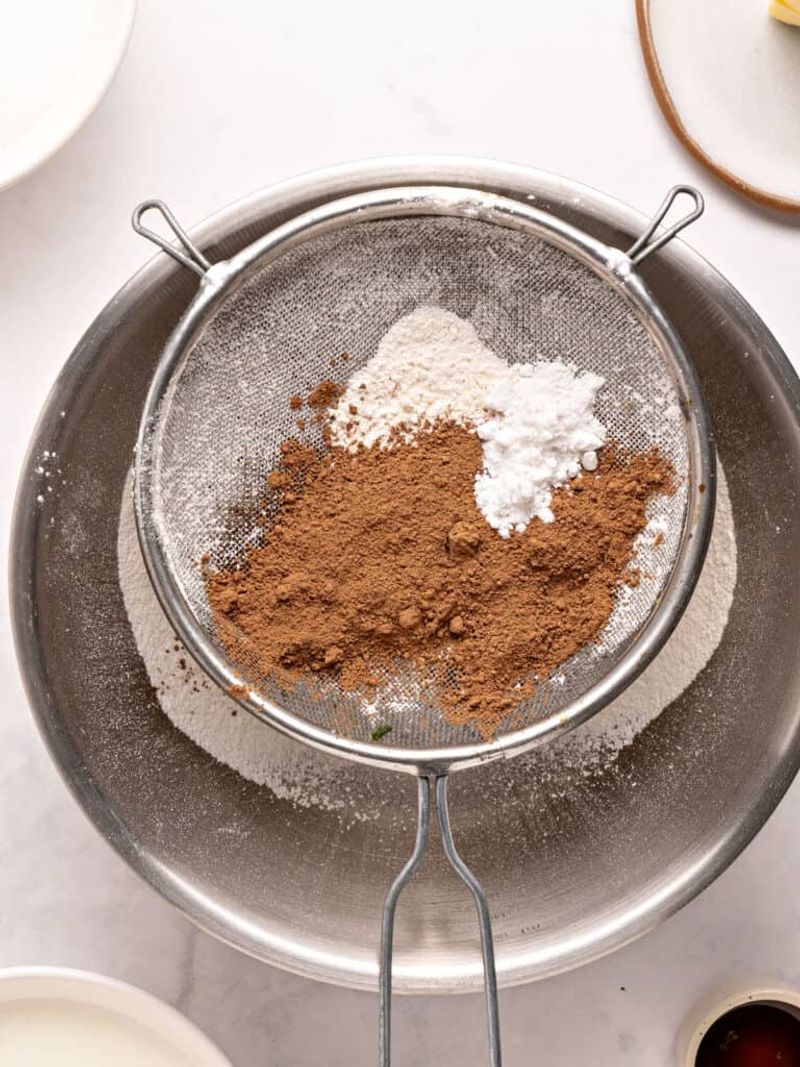
Lumpy cocoa powder hiding inside a cake is a sad surprise. Clumps of baking soda can even leave bitter spots.
Shake your flour, leavening, salt, and cocoa through a fine mesh sieve before adding them to wet ingredients. Everything gets evenly mixed and nicely airy.
A whisk works in a pinch if you lack a sifter. Just stir the dry ingredients well for about thirty seconds to break up any lumps.
14. Brush Layers With Simple Syrup
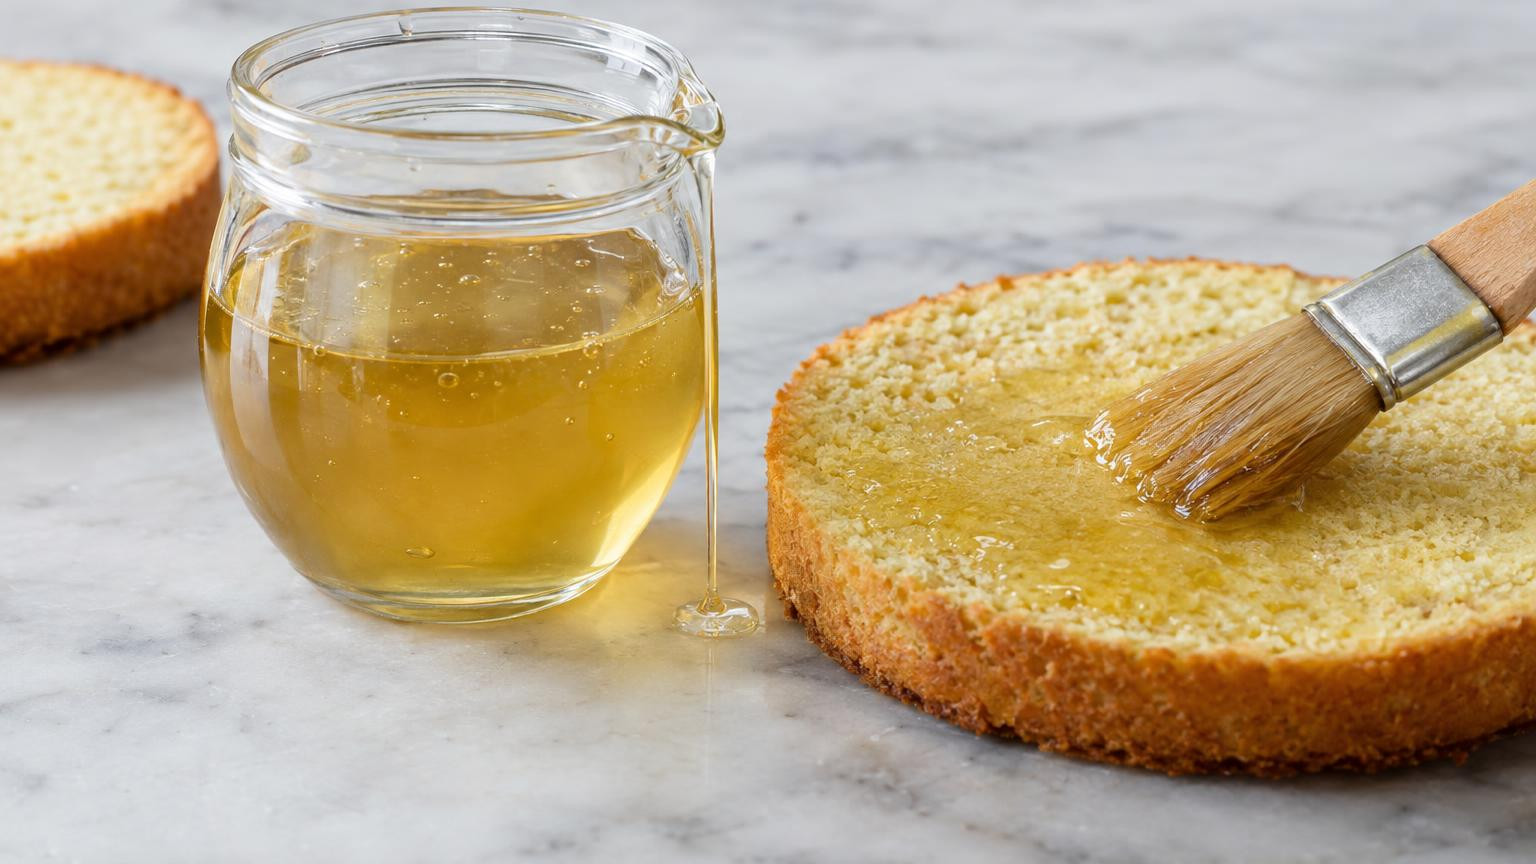
Bakery cakes often taste extra moist for one sneaky reason. Pastry chefs brush their layers with simple syrup.
Heat equal parts sugar and water until the sugar dissolves, then let it cool. Lightly brush it over each layer before frosting.
You can even add flavor with vanilla, lemon zest, or a splash of orange juice. Should a cake come out a bit dry, this little rescue trick saves the day.
15. Add a Crumb Coat Before Frosting
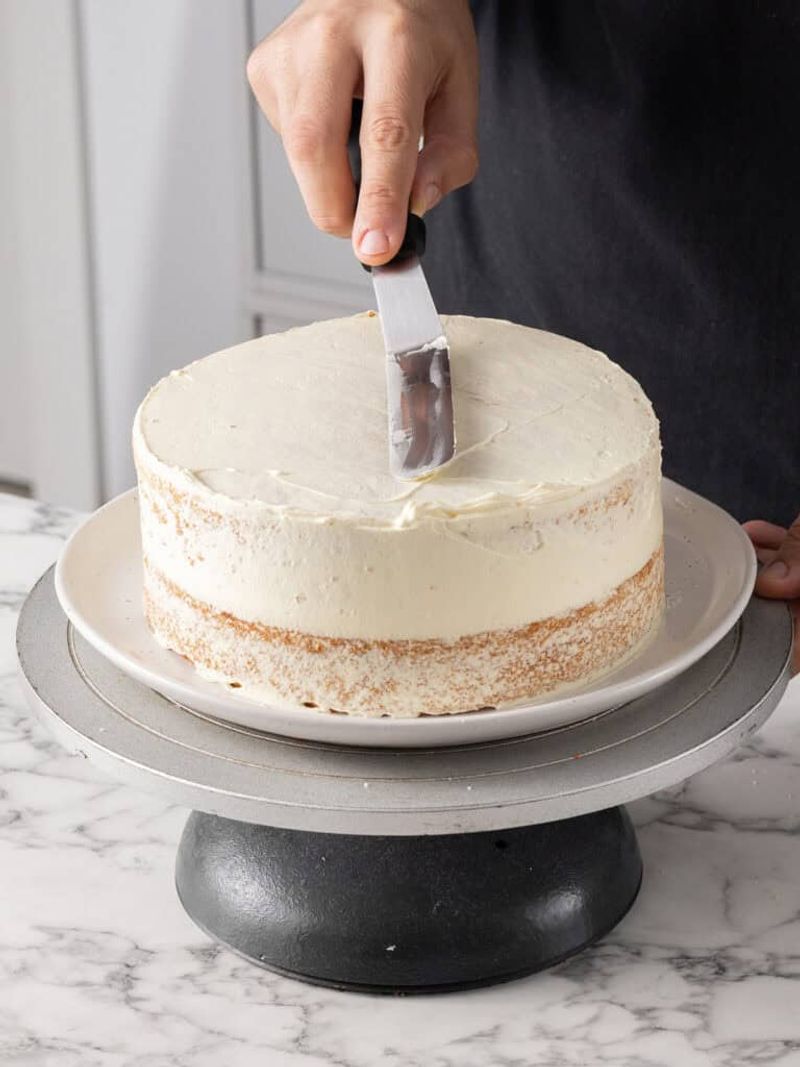
Crumbs love to sneak into frosting and ruin that smooth, pretty finish. Decorators have a clever answer called the crumb coat.
Spread a very thin layer of frosting all over the cake to trap loose crumbs. Chill it in the fridge for about twenty minutes until firm.
Then add your final, thicker layer. The result looks clean and professional, like something straight from a fancy bakery window.