
Few sounds beat the crunch of a golden piece of fried chicken. Getting that crispy outside while keeping the meat juicy can feel tricky, but it is easier than you think.
A few smart moves in your kitchen can turn soggy chicken into a crunchy crowd favorite. Grab your apron, because these simple tips will change the way you fry forever.
1. Soak It in Buttermilk
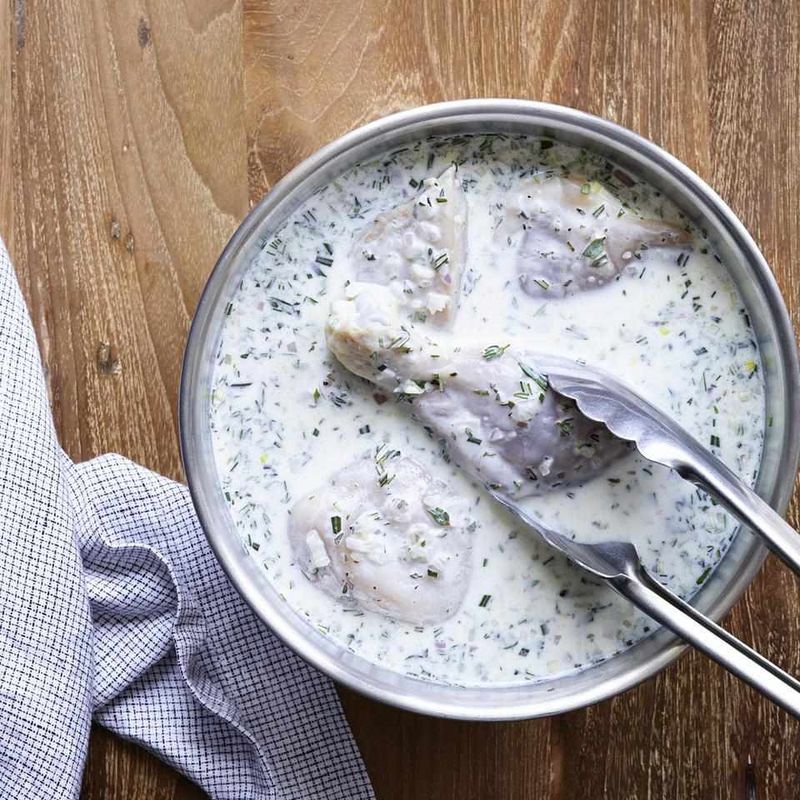
Grandmas across the South swear by one simple step: a long buttermilk bath. The gentle acid in buttermilk softens the meat and keeps it juicy inside.
Even better, the thick liquid helps flour stick to the chicken, building a craggy crust. Try soaking your pieces for at least four hours, or overnight if you can wait.
Add a pinch of salt and hot sauce to the buttermilk for extra flavor in every bite.
2. Pat the Chicken Dry First
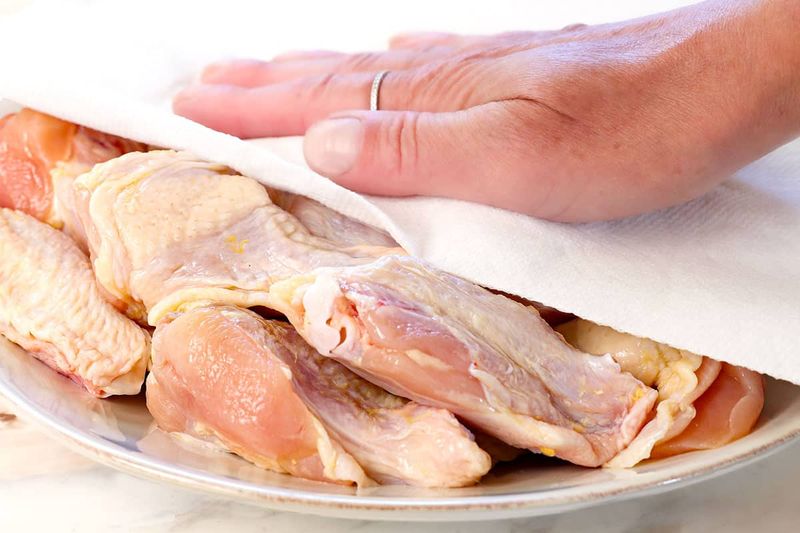
Water and hot oil are not friends. Wet chicken makes oil spit and pop, and it also leaves the coating thin and patchy.
Before you start seasoning or breading, grab a few paper towels and press each piece gently. You want the surface to feel slightly tacky, not dripping.
If you skip the buttermilk soak, this step matters even more. A dry surface lets seasoning cling tight and helps the crust brown evenly all around.
3. Mix Cornstarch Into Your Flour
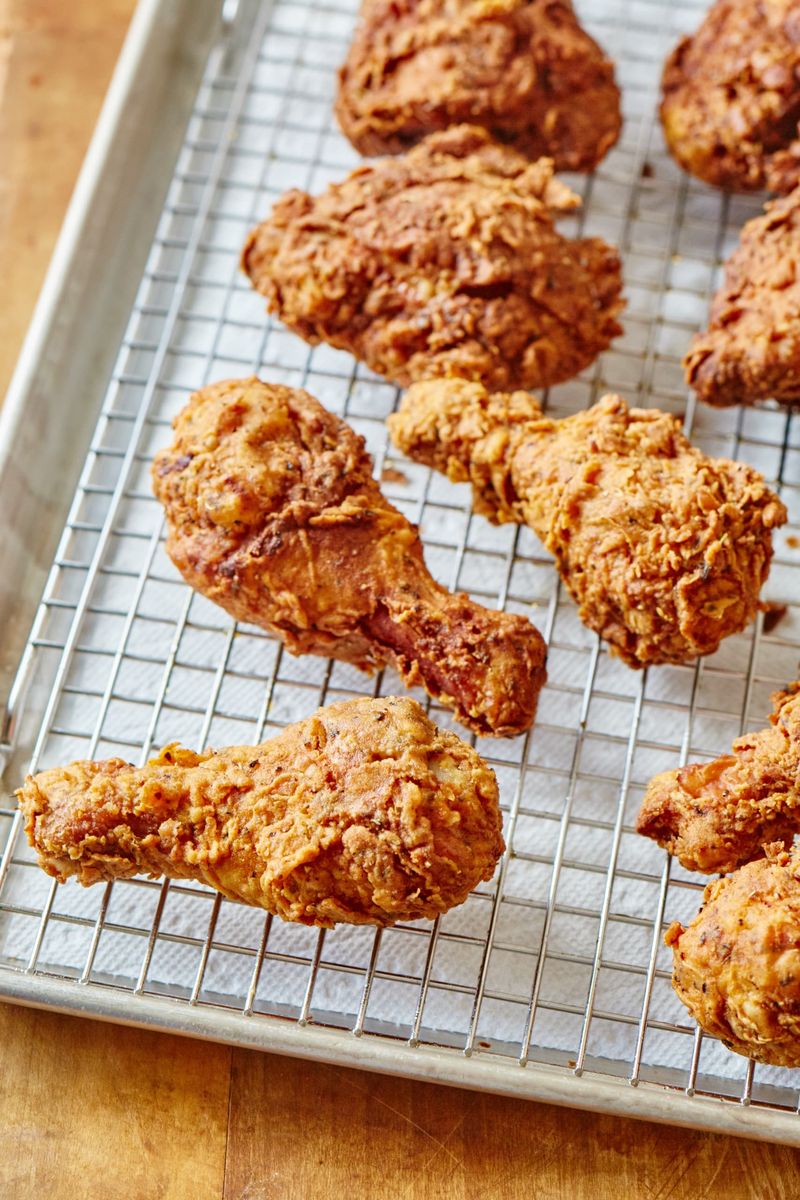
Here is a secret many restaurants keep quiet. Plain flour alone can turn bready, but cornstarch fries up light and shattery.
A good starting ratio is about three parts flour to one part cornstarch. Whisk them together well so the mix stays even.
Cornstarch has no gluten, so it does not get chewy. The result is a coating that snaps when you bite it, almost like a potato chip wrapped around your chicken.
4. Drizzle Buttermilk Into the Dredge
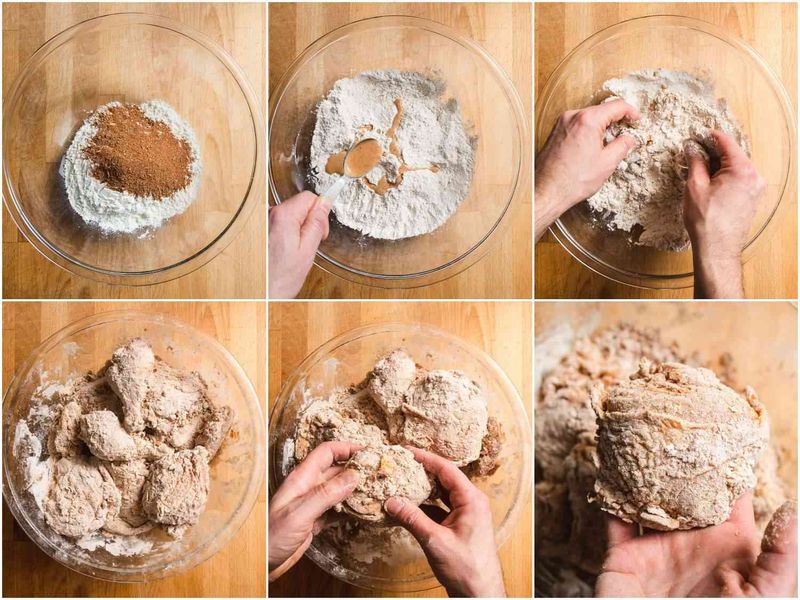
Want those crunchy little nooks and crannies you see on fast food chicken? Try this fun trick.
Drizzle two or three tablespoons of buttermilk into your dry flour mix. Rub it in with your fingers until small clumps form, kind of like wet sand.
Those clumps stick to the chicken and fry into tiny crispy bits. Every piece ends up bumpy and textured, giving you way more crunch in each mouthful.
5. Season Every Single Layer
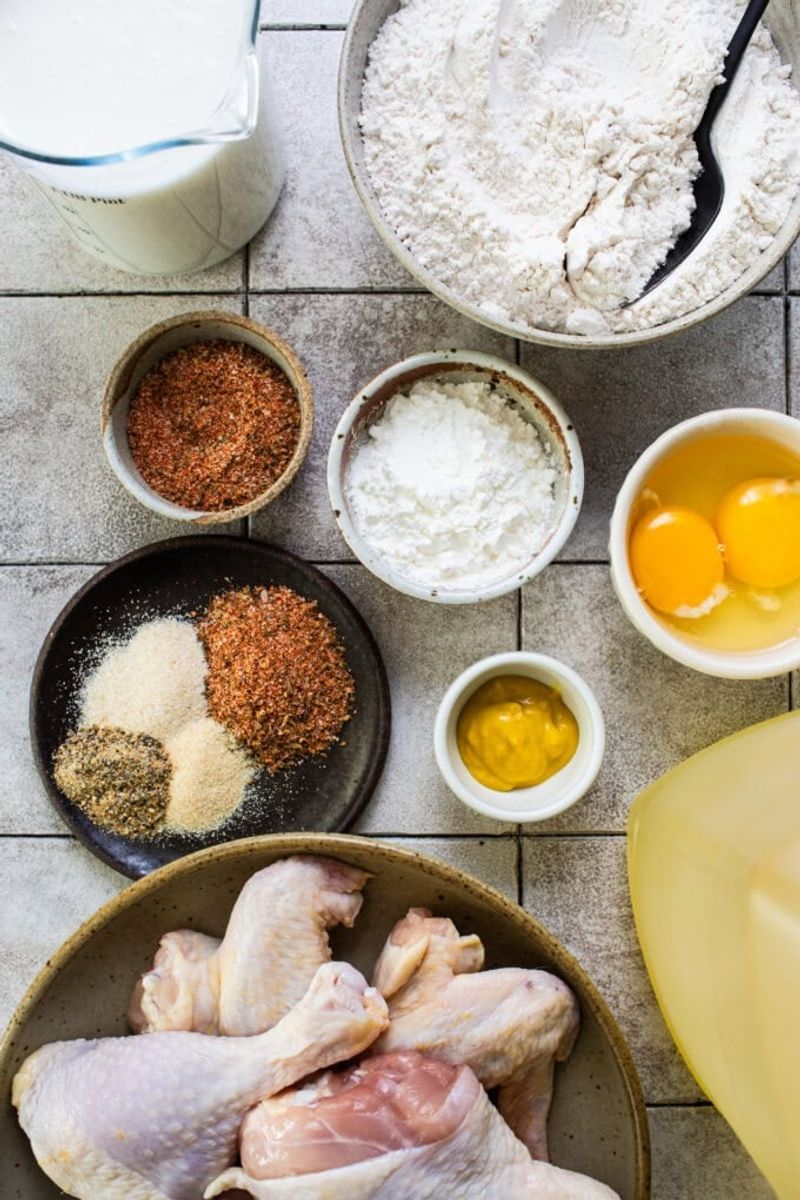
Bland chicken with a crunchy shell is a sad surprise. Flavor should live in every layer, not just on top.
Salt the meat, add spices to the buttermilk, and mix more into the flour. Paprika, garlic powder, onion powder, black pepper, and a little cayenne make a great team.
Fun fact: Colonel Sanders famously claimed his recipe used 11 herbs and spices. You do not need that many, but variety really helps.
6. Try a Double Dip
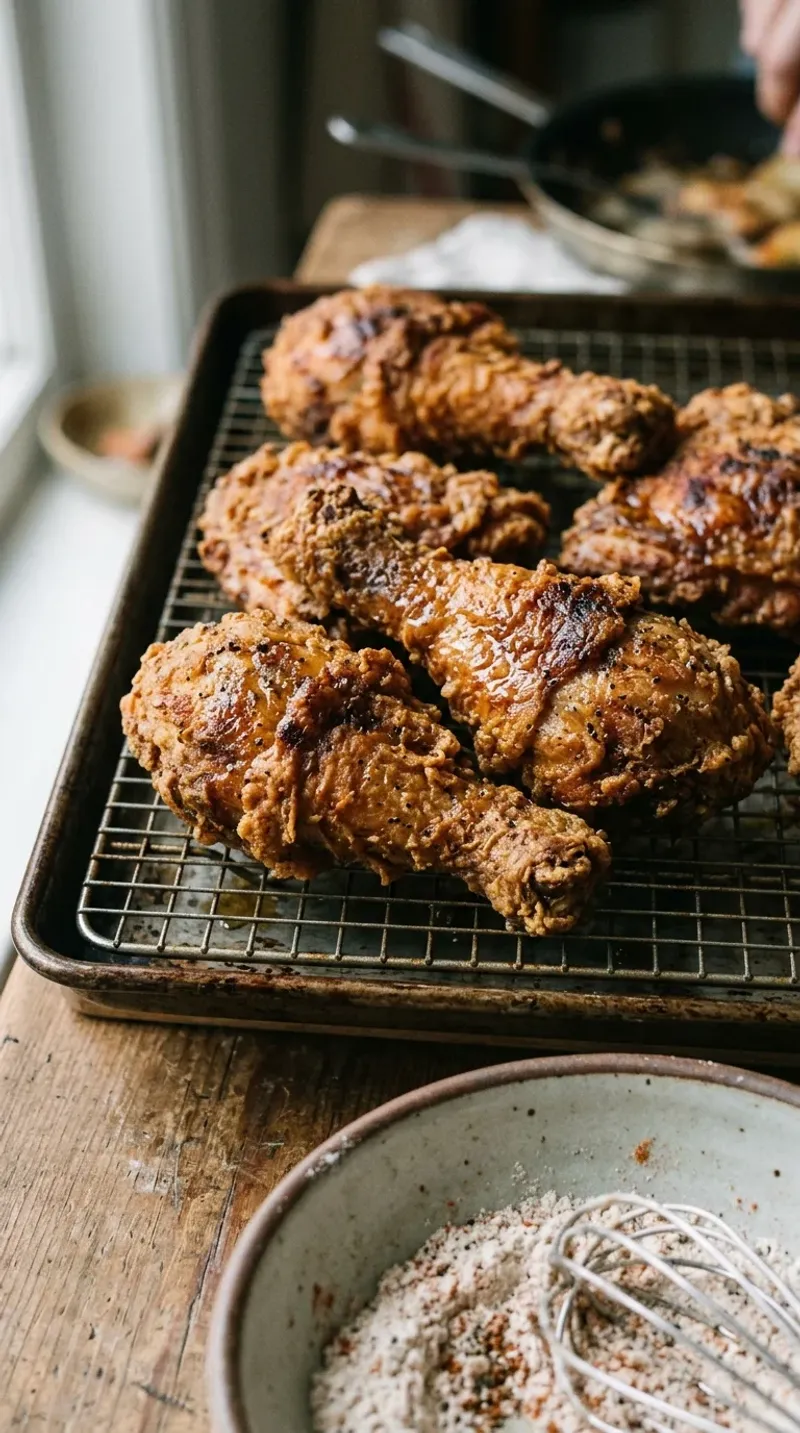
Some cooks call it the double dredge, and once you try it, you may never go back.
Coat the chicken in flour, dip it back into the buttermilk, then press it into the flour again. That second layer builds a thicker, sturdier crust.
Press firmly so the coating hugs the meat. Thick armor like this stays crunchy longer, which is perfect for picnics or leftovers you plan to eat cold the next day.
7. Let the Coating Rest
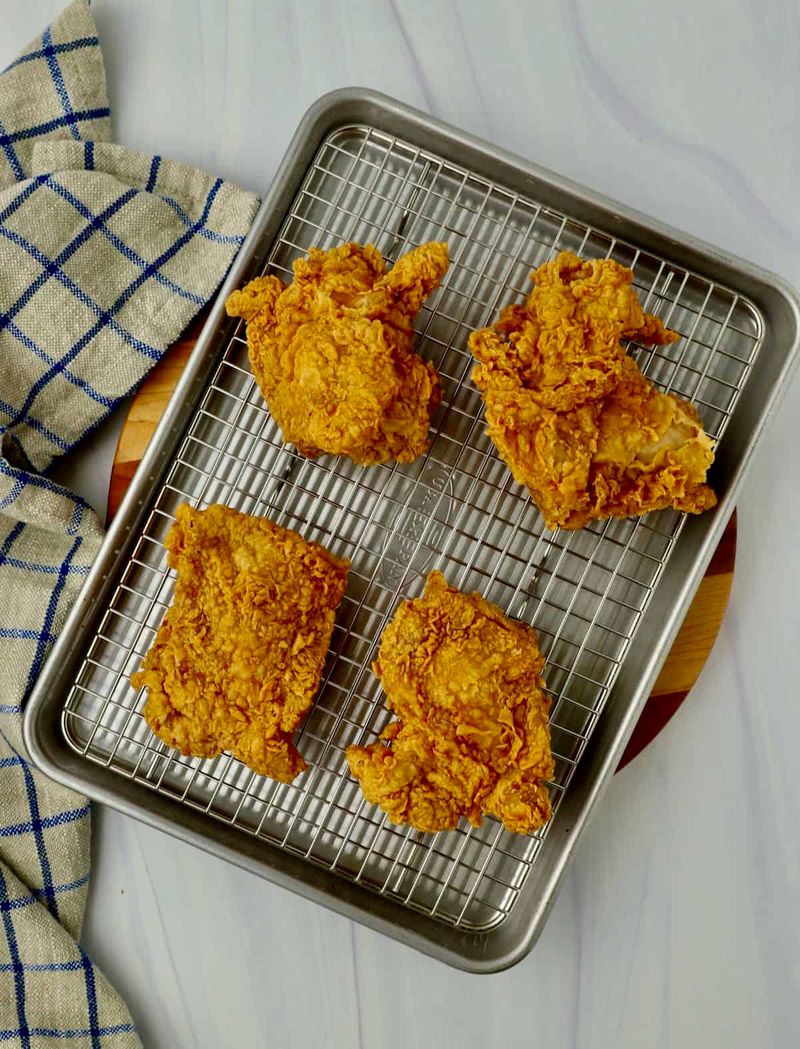
Patience pays off in the kitchen. After breading, set your chicken on a wire rack for about 15 to 20 minutes.
During this short break, the flour soaks up moisture and turns slightly pasty. That paste acts like glue, helping the crust stay attached when it hits the oil.
Skip this, and you might see chunks of coating floating in the pot. Use the waiting time to heat your oil and clean up.
8. Use a Thermometer for Oil
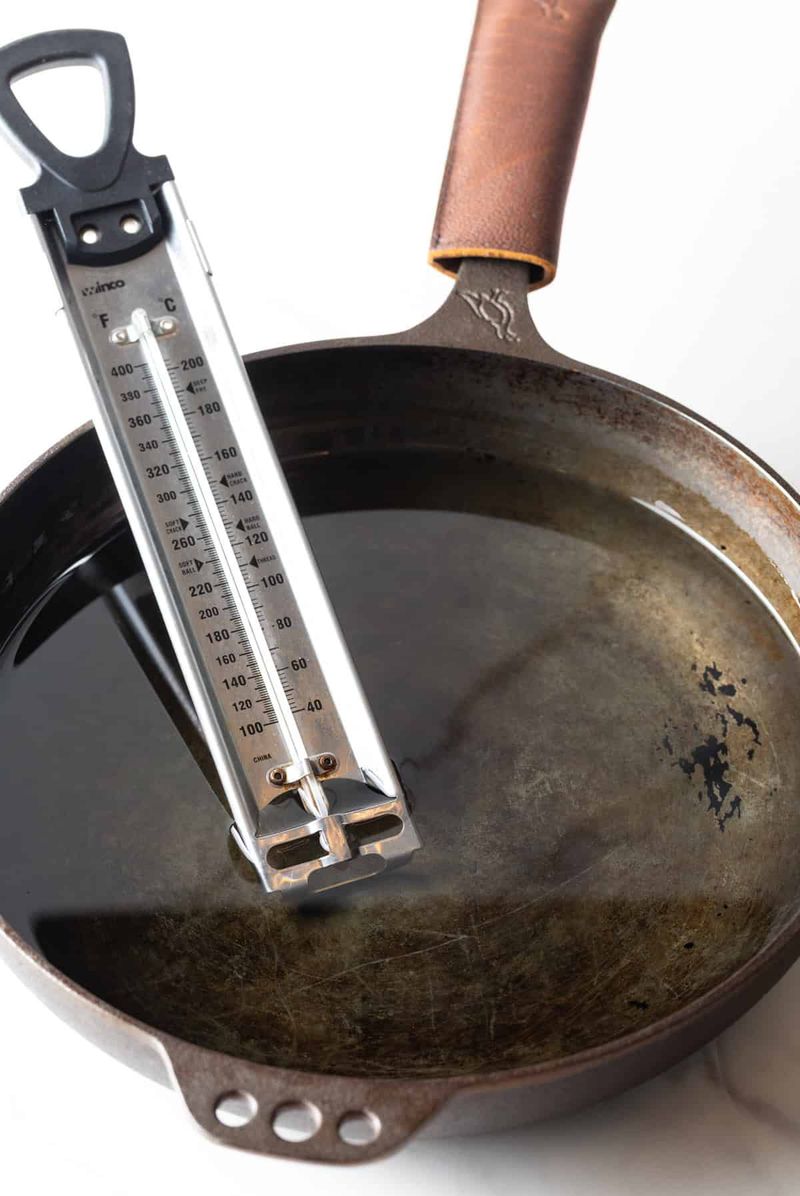
Guessing oil temperature is like guessing the weather. Sometimes you get lucky, but often you do not.
Aim for around 325 to 350 degrees Fahrenheit. Too cool, and the chicken soaks up grease.
Too hot, and the outside burns before the inside cooks.
A clip-on thermometer costs little and saves a lot of frustration. Keep an eye on it the whole time, because the number drops when chicken goes in.
9. Pick an Oil That Handles Heat
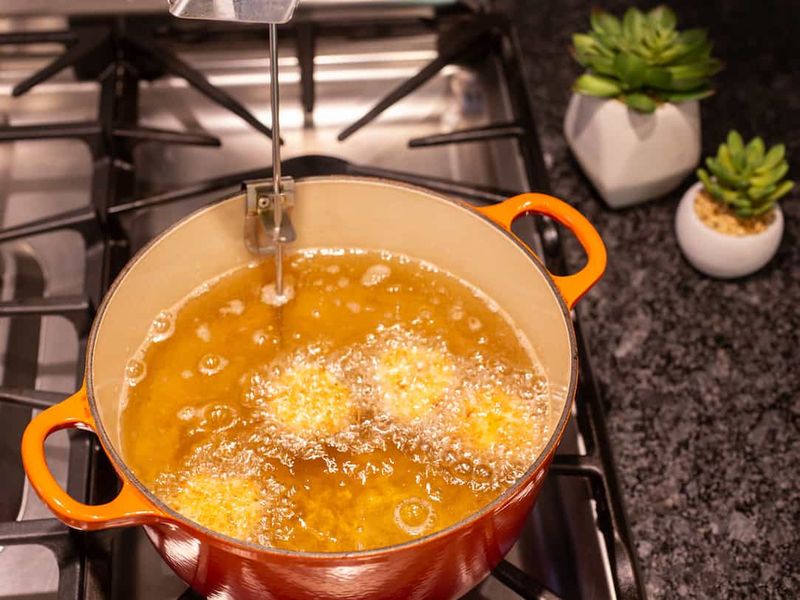
Not every bottle in your pantry is built for frying. Olive oil and butter burn quickly and can taste bitter.
Peanut oil is a classic choice because it handles high heat and tastes clean. Canola, vegetable, and shortening work well too.
Many old-school cooks even add a scoop of lard for a rich, savory flavor. Whatever you pick, make sure it has a high smoke point so your crust stays golden.
10. Give Each Piece Some Space
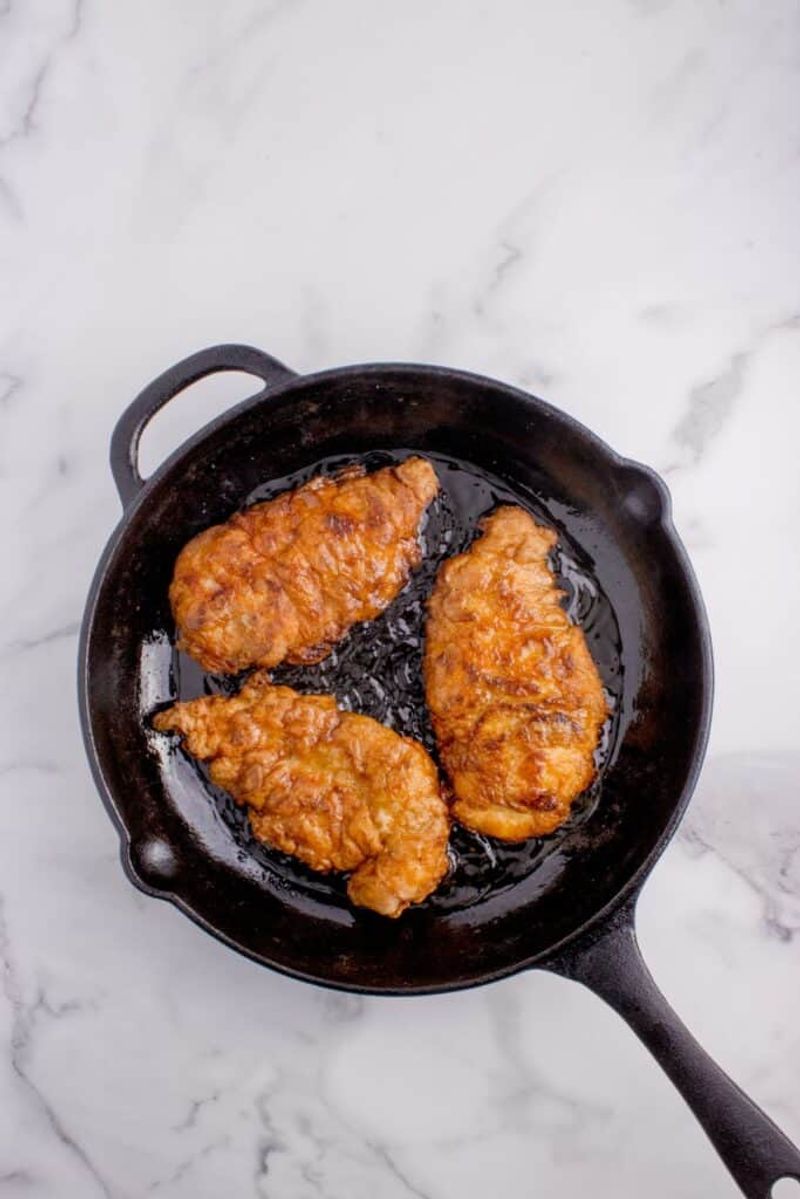
Picture a crowded elevator. Nobody can move, and everyone gets hot and sweaty.
Your chicken feels the same way in a packed pot.
Too many pieces at once make the oil temperature crash. Instead of frying, the chicken starts to steam, and the coating goes soft.
Fry in small batches with a little room around each piece. It takes a bit longer, but every bite comes out crisp.
11. Reach for Cast Iron
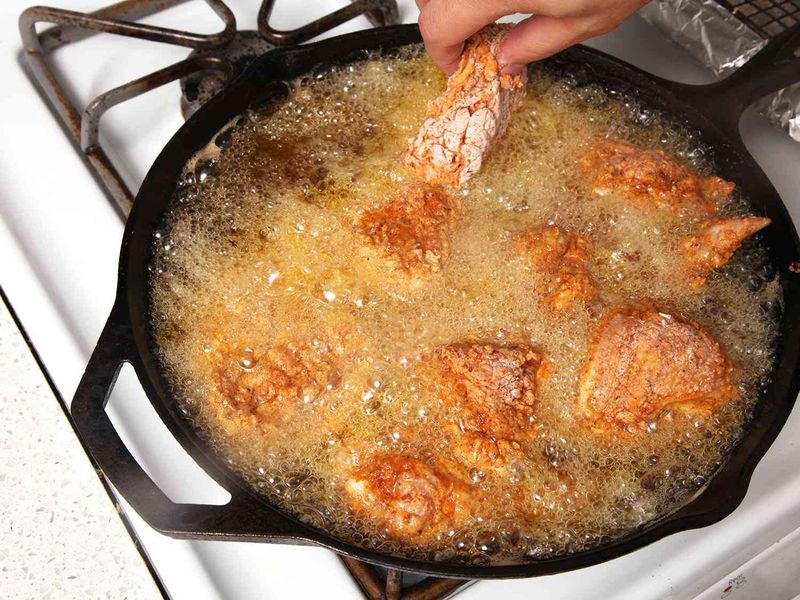
There is a reason cast iron skillets get passed down through families. These heavy pans hold heat like a champ.
When cold chicken drops into the oil, cast iron bounces back to temperature faster than thin pans do. That steady heat means an even, golden crust.
A Dutch oven works great too and keeps splatters down. Either way, a heavy pot makes frying at home safer and much more reliable.
12. Bring Chicken Closer to Room Temperature
Straight-from-the-fridge chicken is a sneaky problem. Ice-cold meat drags the oil temperature way down and cooks unevenly.
Let your breaded pieces sit out for about 20 to 30 minutes before frying. Never leave them out longer than that for food safety reasons.
Warmer meat cooks faster in the middle, so the crust does not have to sit in oil forever. You get juicy chicken and a coating that stays golden, not dark.
13. Add Baking Powder for Bubbles
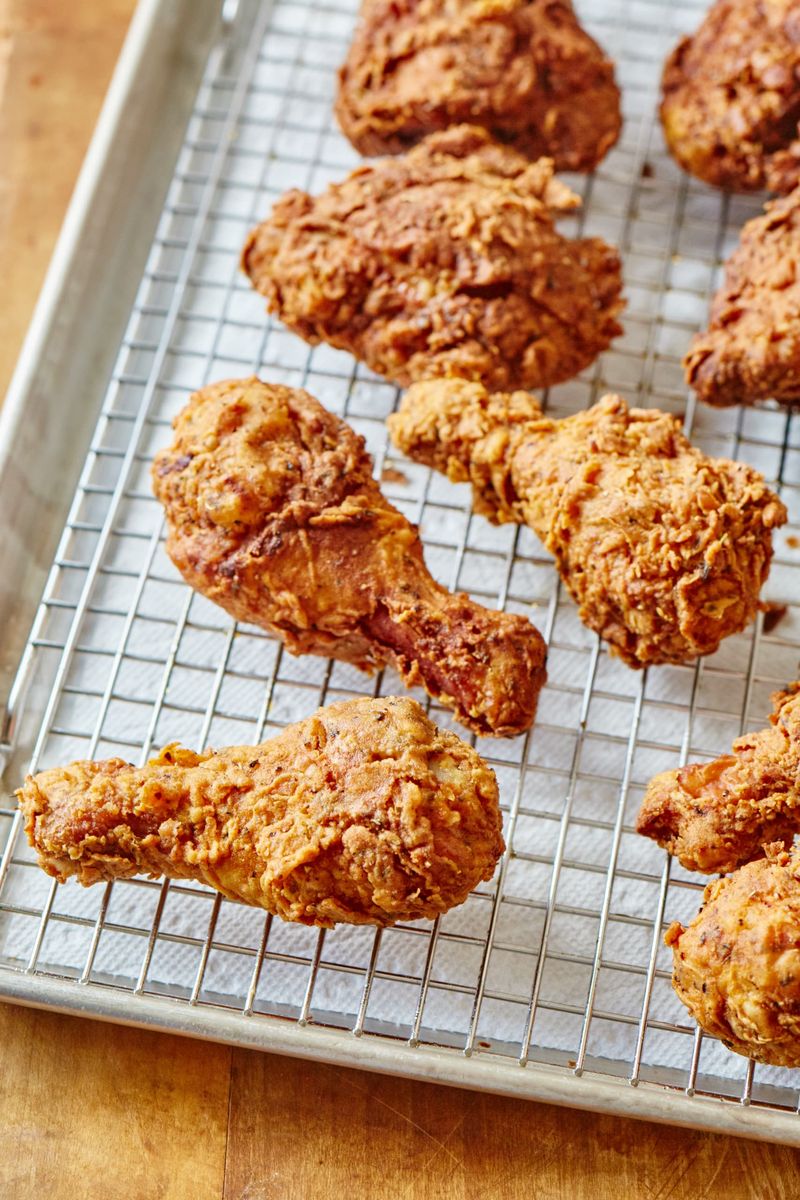
Science class meets dinner time with this clever trick. A teaspoon or two of baking powder in your flour makes a big difference.
When it heats up, baking powder releases tiny gas bubbles. Those bubbles puff up the coating, leaving it light, airy, and extra crunchy.
Just do not mix it up with baking soda, which can taste soapy. Check the label carefully before you scoop anything into your dredge.
14. Splash Vodka Into the Batter
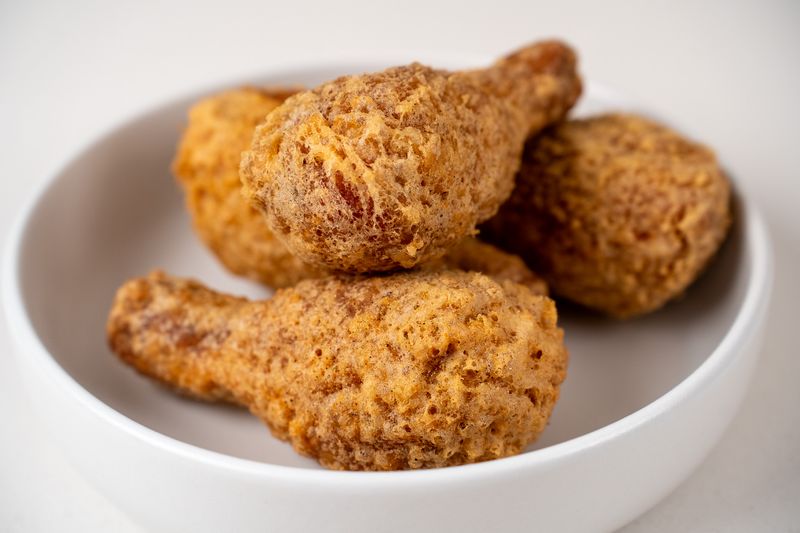
It sounds wild, but chefs love this one. A splash of vodka in a wet batter helps the coating fry up super crisp.
Alcohol evaporates faster than water, so the batter dries out quickly in hot oil. It also slows gluten from forming, keeping the crust delicate.
Do not worry, the alcohol cooks off during frying. Of course, this trick is one for grown-ups to handle in the kitchen.
15. Use Ice-Cold Sparkling Water
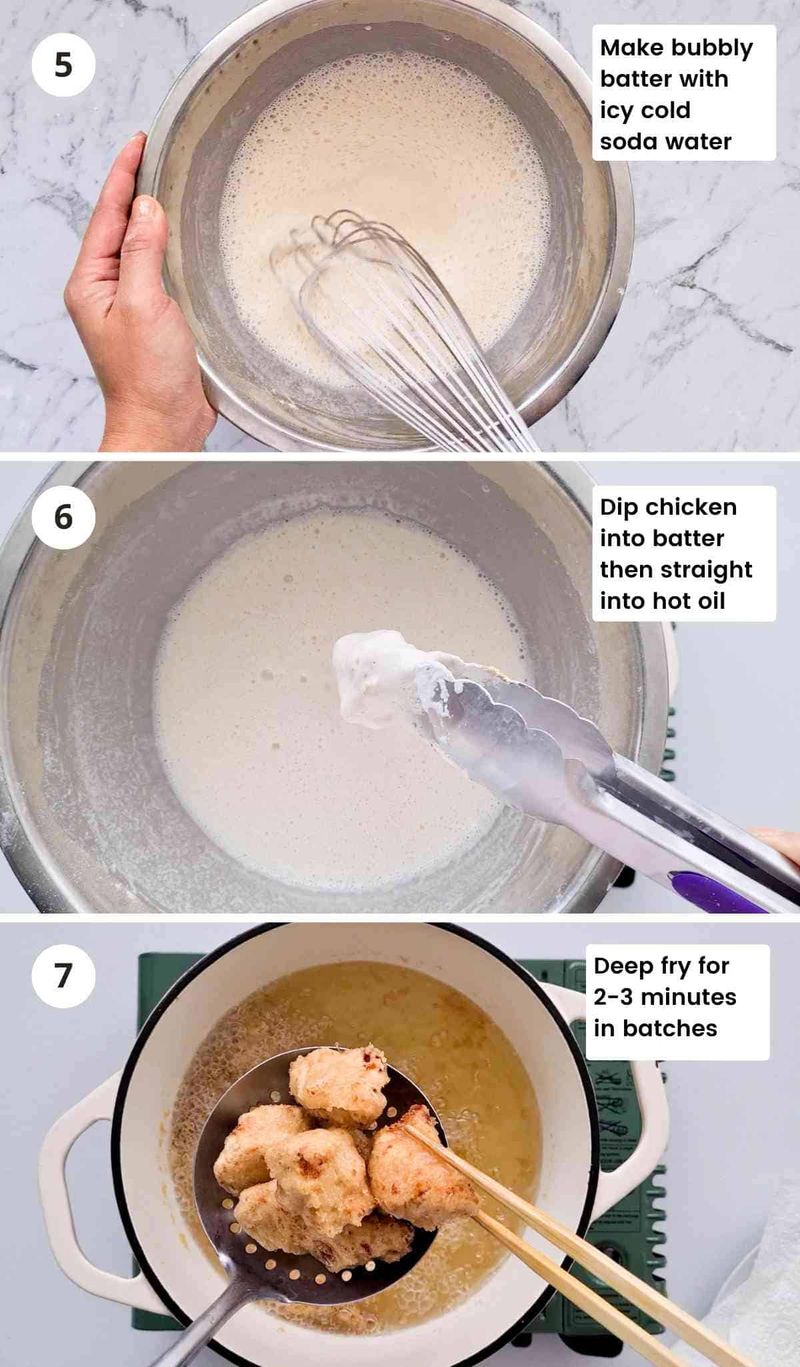
Japanese tempura cooks have known this for ages. Cold, bubbly water makes the lightest batter around.
The fizz adds air pockets, and the chill keeps the batter from turning gummy. When it hits hot oil, the big temperature jump creates a crackly shell.
Keep the bowl over ice while you work. Mix gently and leave a few lumps, since overmixing builds gluten and leads to a tougher, chewier coating.
16. Flip Only Once or Twice
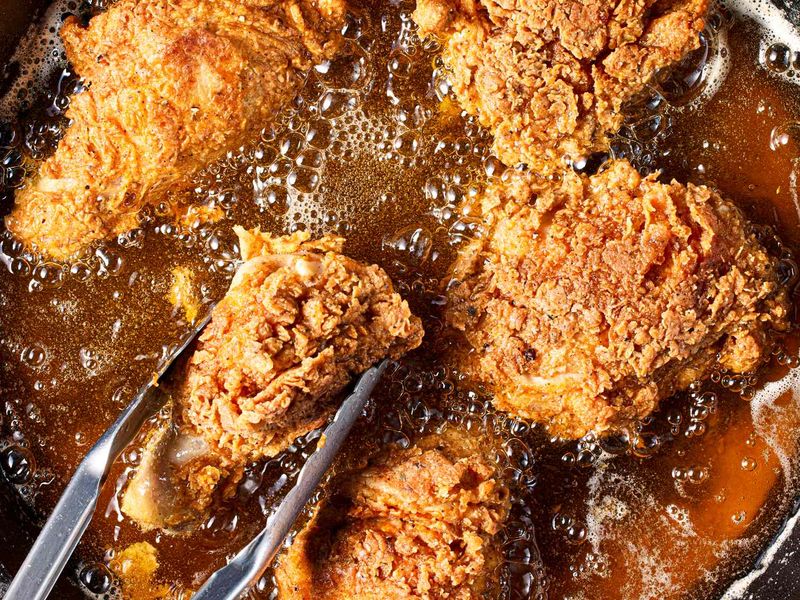
Fidgeting with your food can wreck the crust. Each time you poke or flip the chicken, you risk knocking off pieces of coating.
Let one side cook until it is deep golden, then turn it carefully with tongs. A second flip near the end is fine if needed.
Hold the tongs gently, almost like you are picking up an egg. Squeezing too hard can crack that beautiful crispy layer you worked so hard for.
17. Drain on a Wire Rack, Not Paper
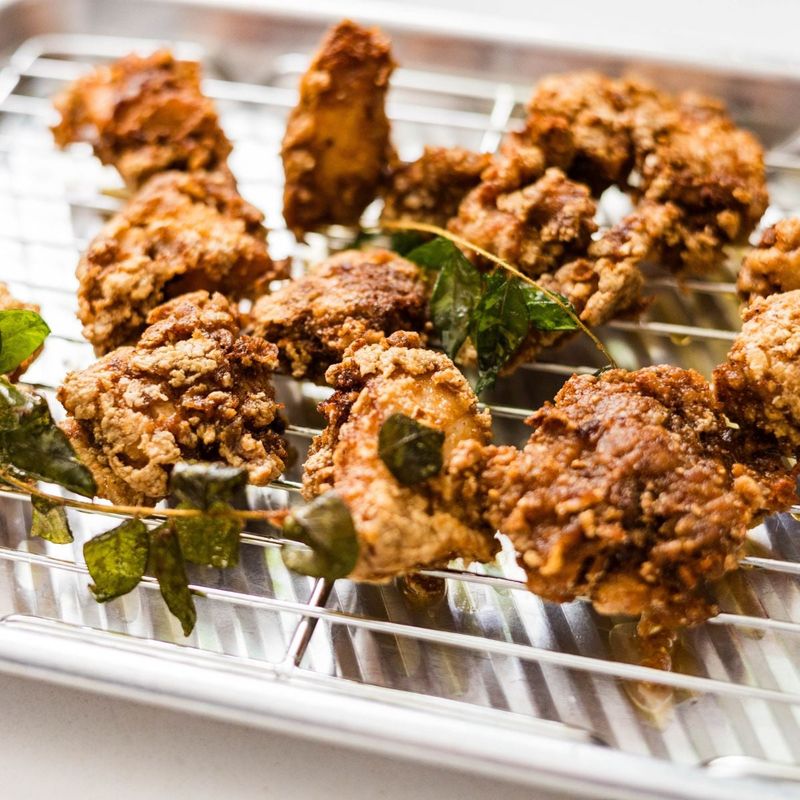
Paper towels seem like the obvious choice, but they can betray you. Chicken sitting on paper traps steam underneath, and the bottom turns soggy.
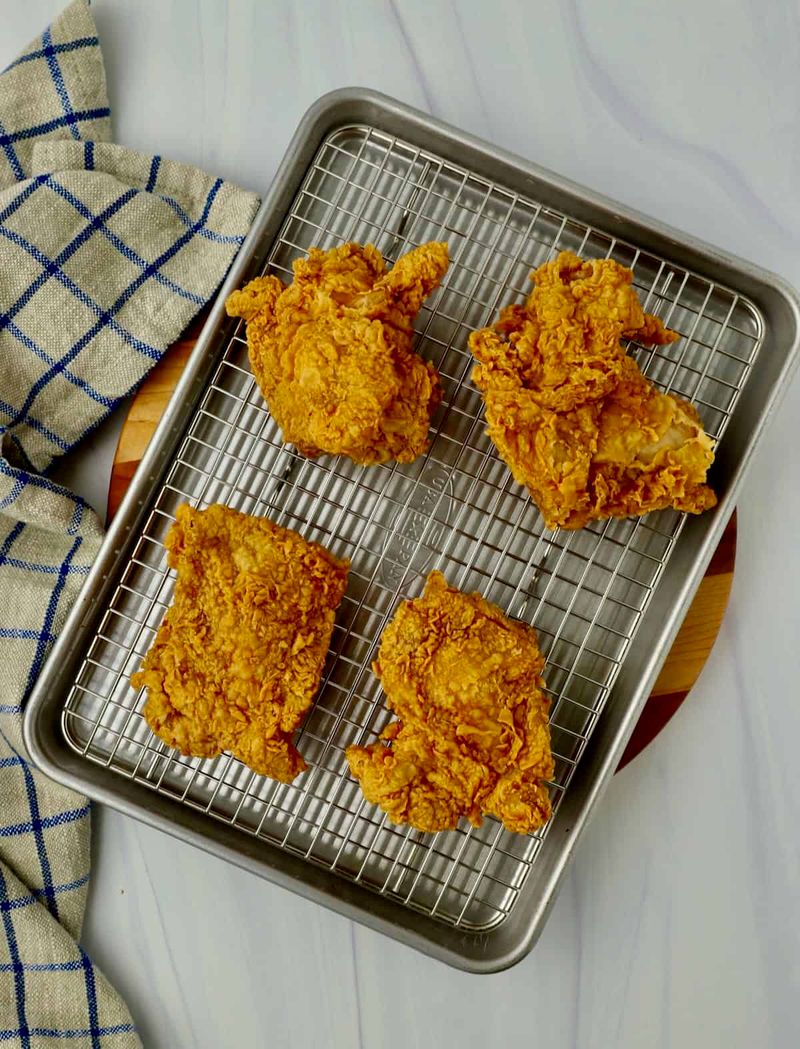
A wire rack set over a baking sheet lets air flow all around each piece. Extra oil drips away, and the crust stays crunchy on every side.
Keep the rack in a warm oven at about 200 degrees if you are frying several batches.
18. Try the Fry-Twice Method
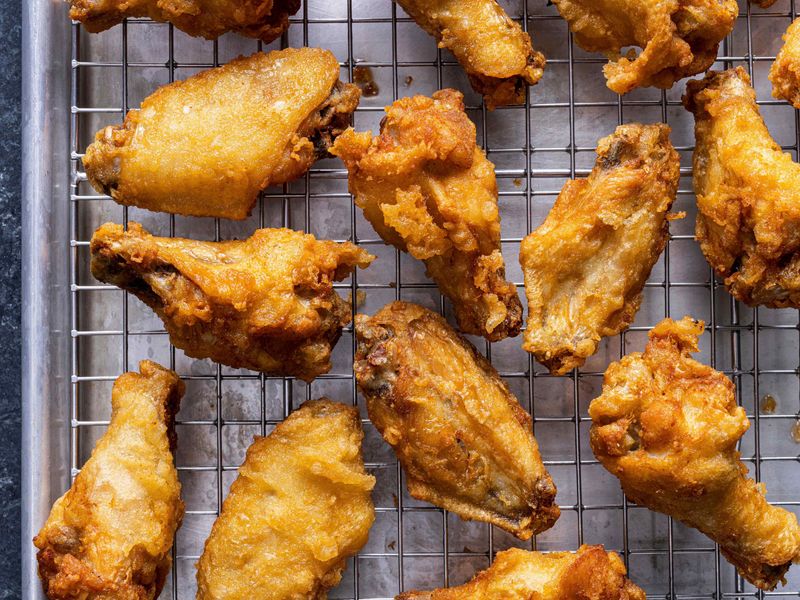
Korean fried chicken is famous for a crunch you can hear across the room. The trick behind it is frying twice.
First, fry at a lower heat until the chicken is mostly cooked. Let it rest for a few minutes.
Then crank up the heat and fry again for a short burst. The second round pushes out leftover moisture and leaves the shell glassy and amazingly crunchy.
19. Salt Right After Frying
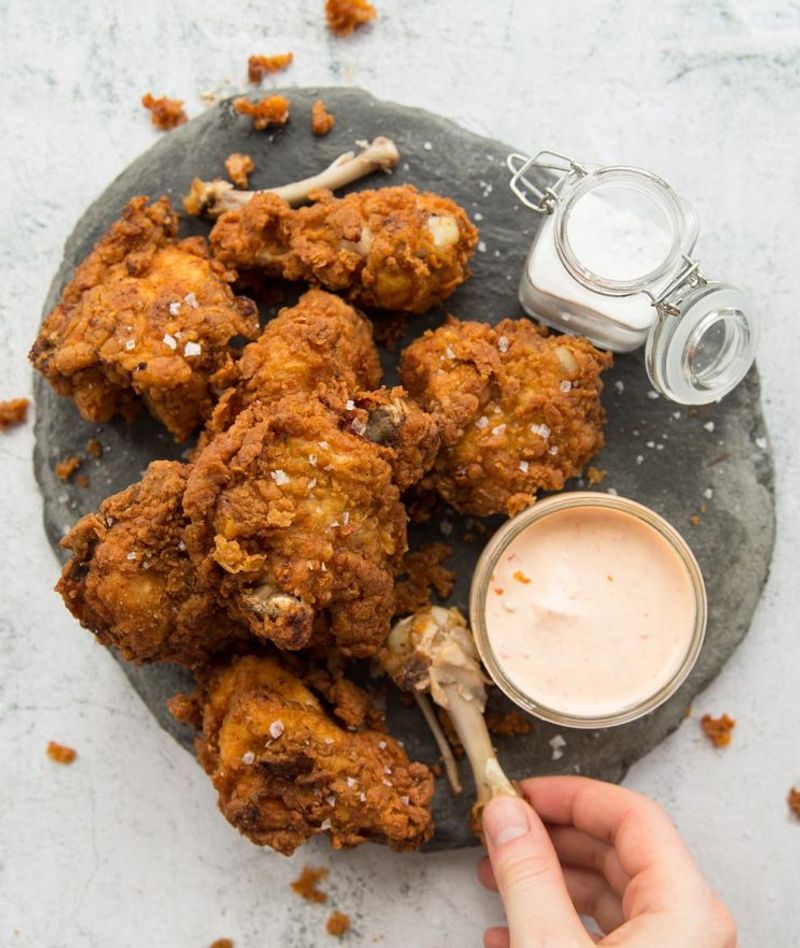
Those first few seconds out of the oil are golden, literally. While the coating is still hot and a little glossy, sprinkle on some salt.
The heat helps the salt stick and melt slightly into the crust. It adds a final pop of flavor and makes every crunchy bite taste brighter.
Flaky sea salt works beautifully here. You can also toss in a pinch of smoked paprika or hot honey for fun.